
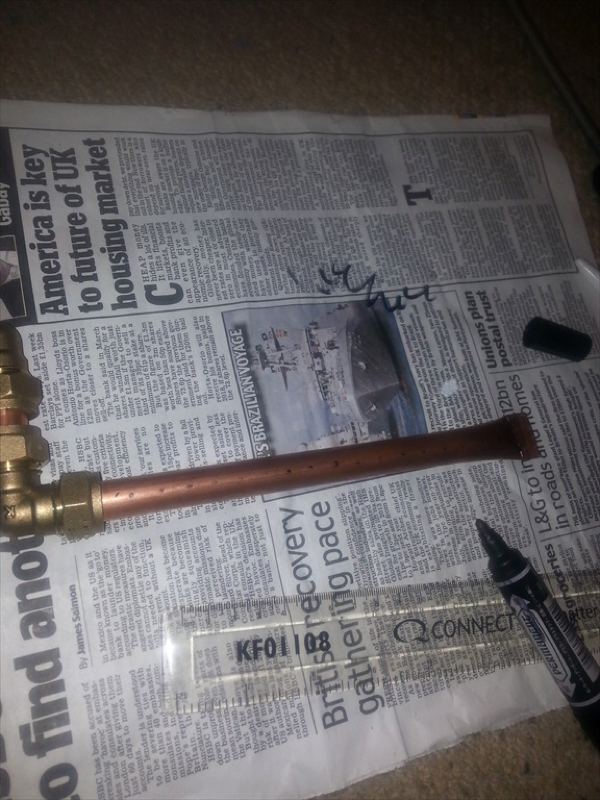
After first All Grain brew a few weeks ago, I realised that I need an improved method of adding sparge wort to the mash tun. Here's how I made an improvised "sparge arm" for this purpose: 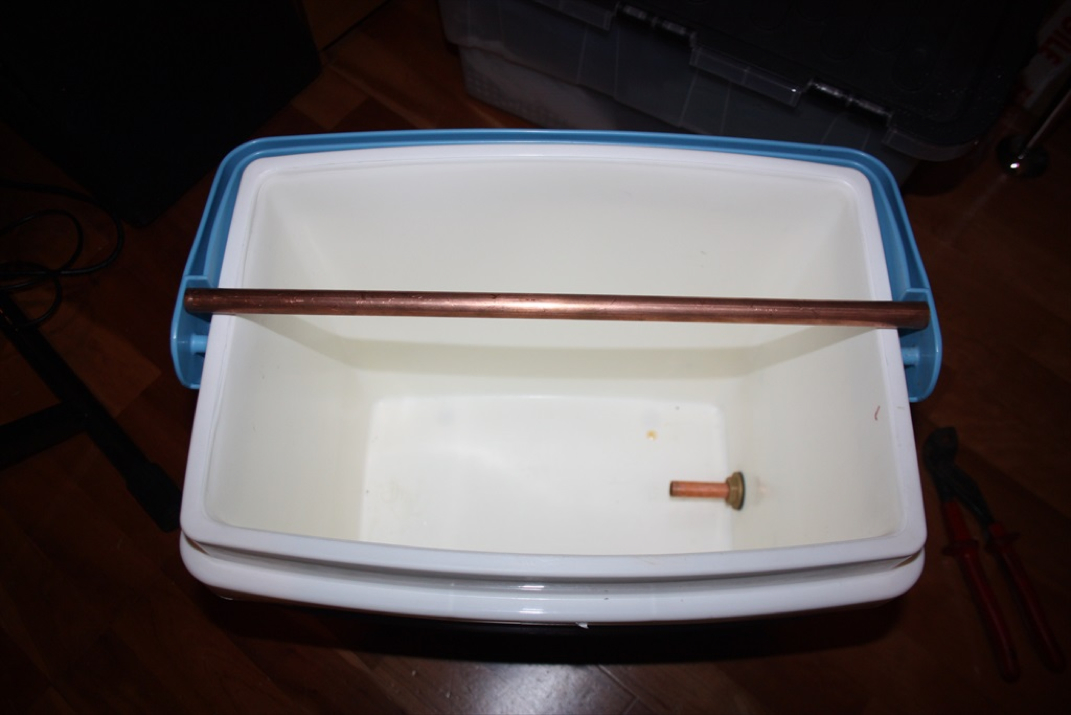
Get a short length of 15mm copper pipe (as wide as the mash tun) ( I still had some leftover from the mash tun / boil kettle manufacturing in January)
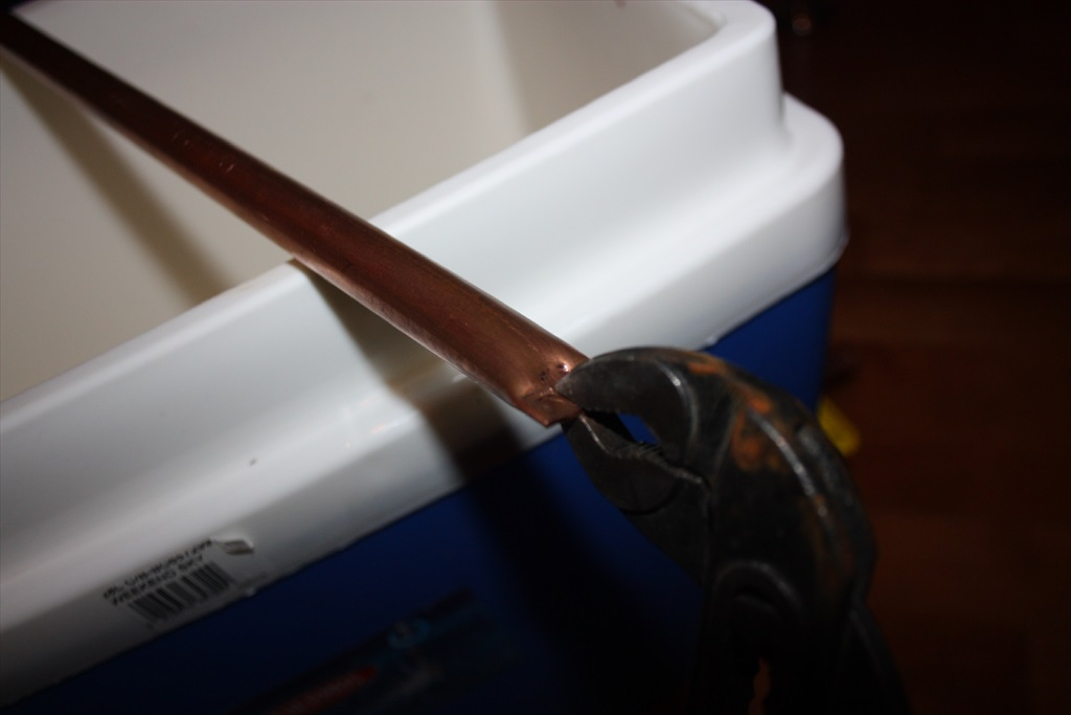
Crimp one end of the pipe fully
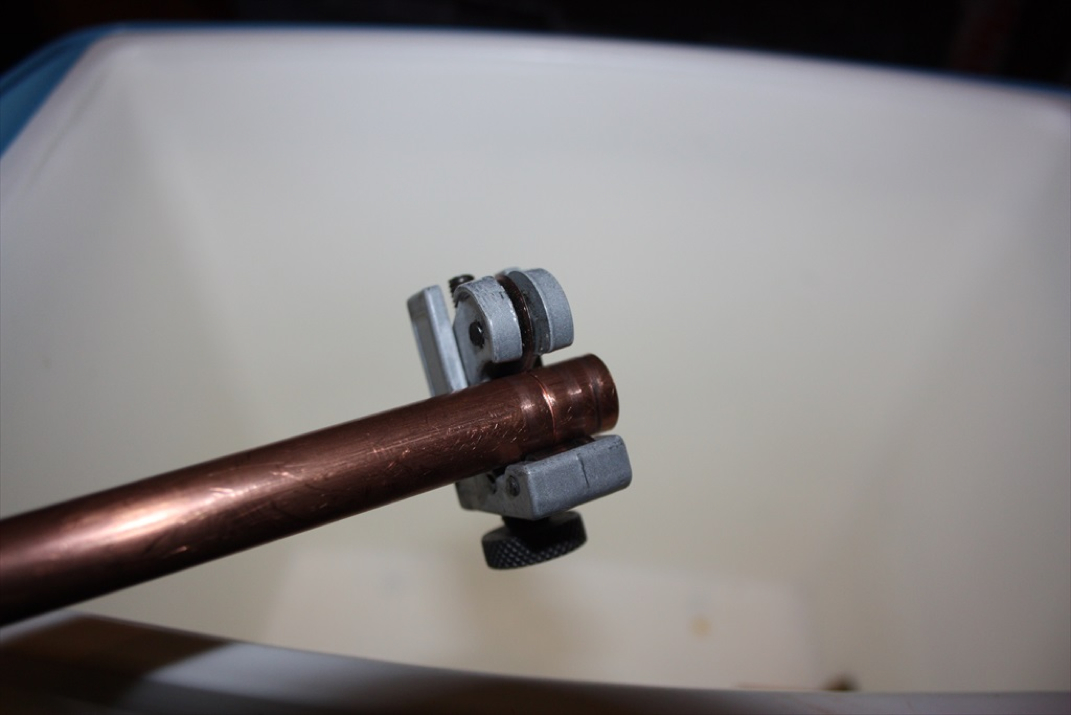
Measure and cut the sparge arm to desired length
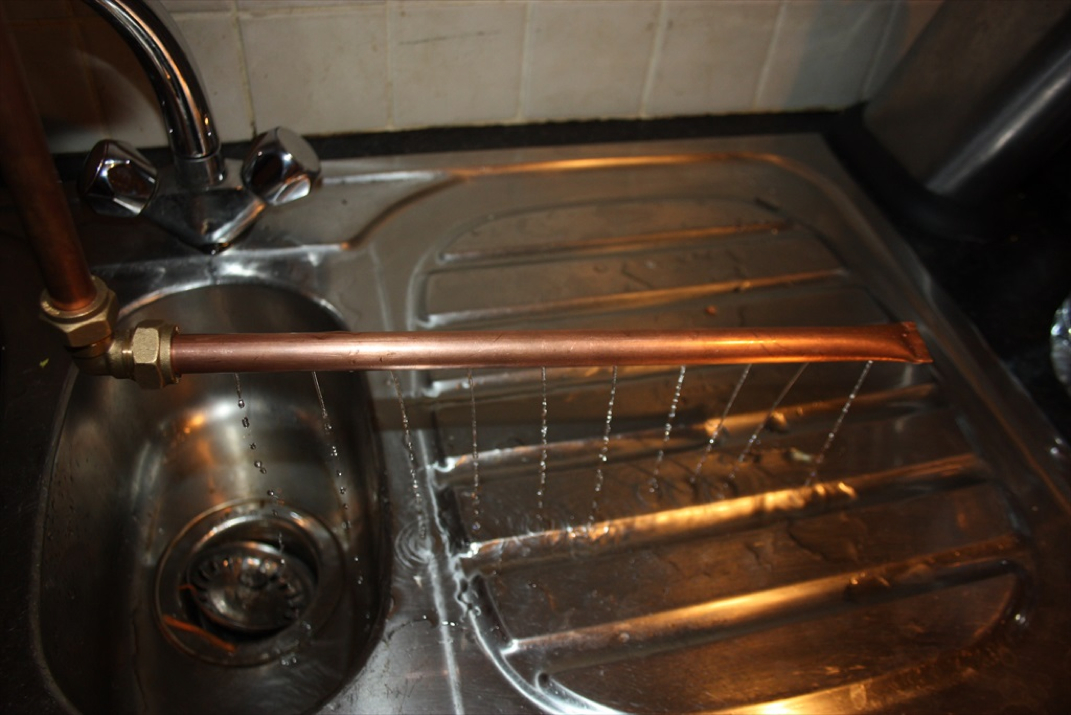
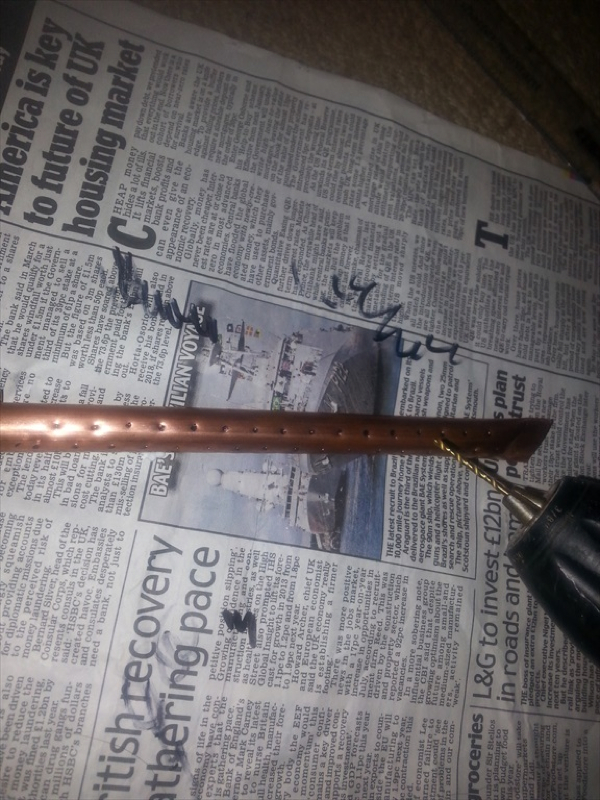
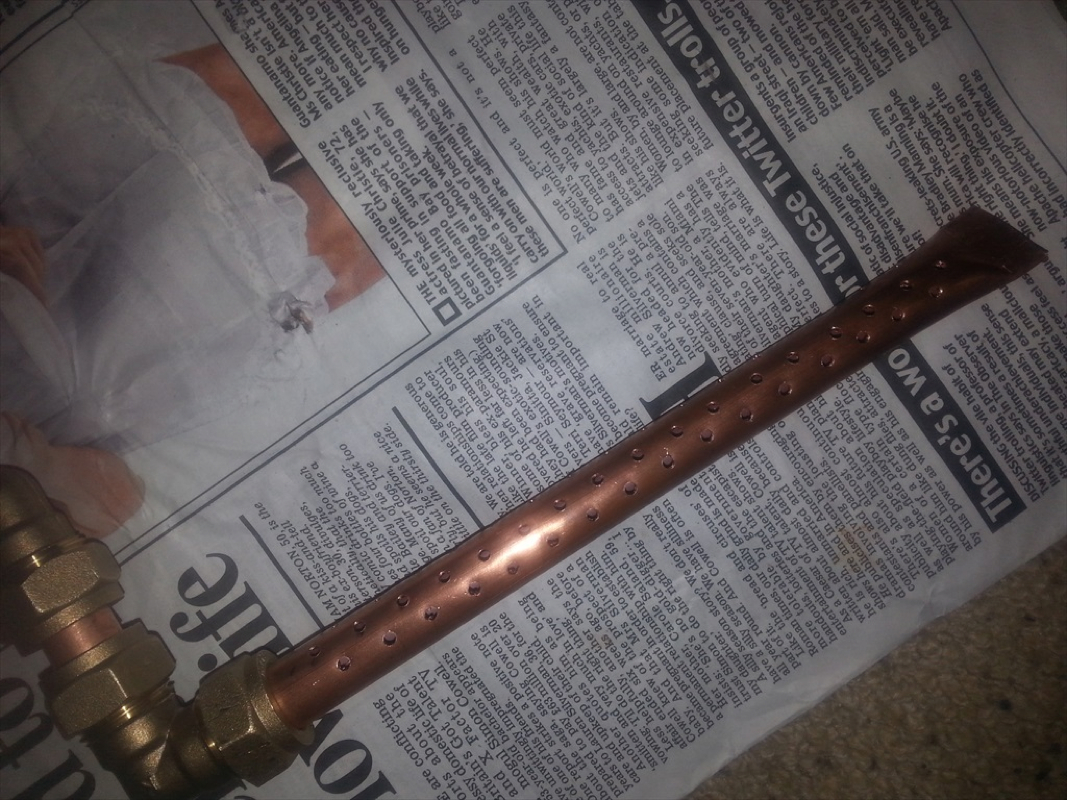
Make a mark every 30mm on Sparge Arm, then drill a 1.5 mm hole at each of these.
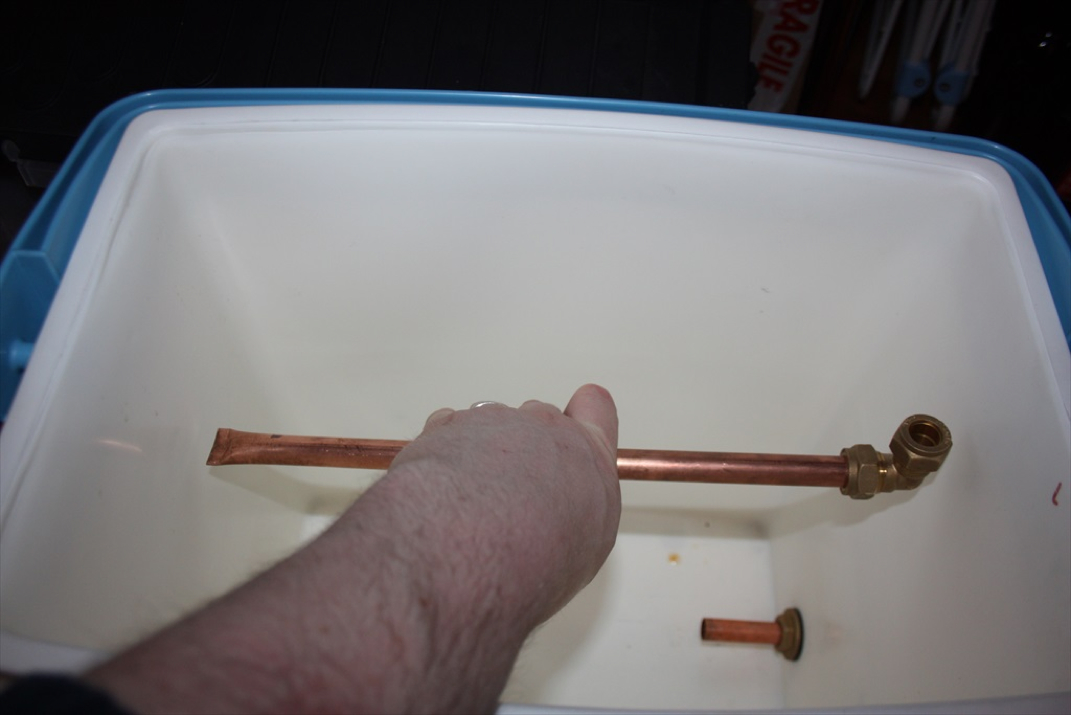
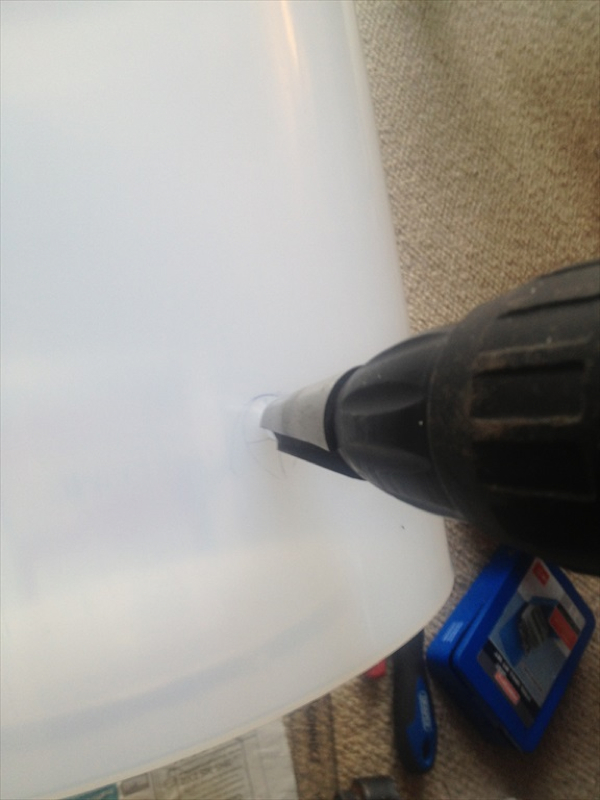
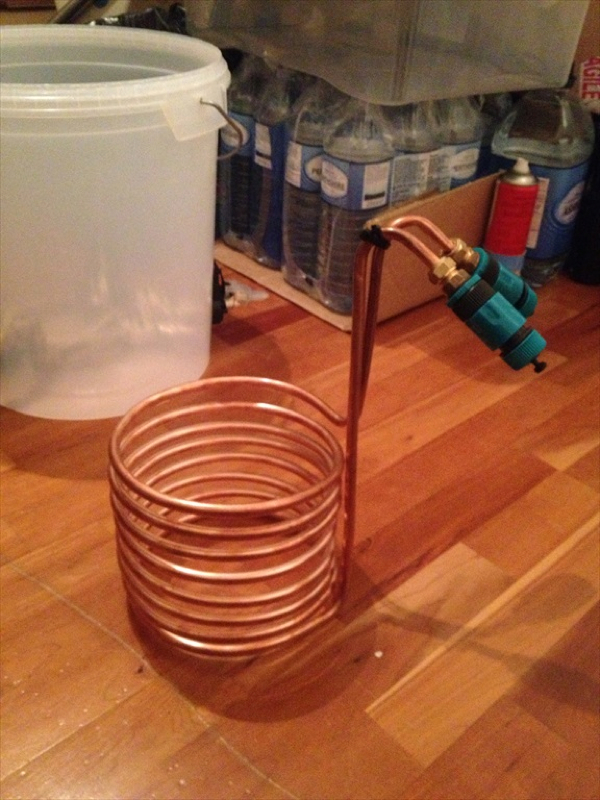
Add funnel and upright pipe
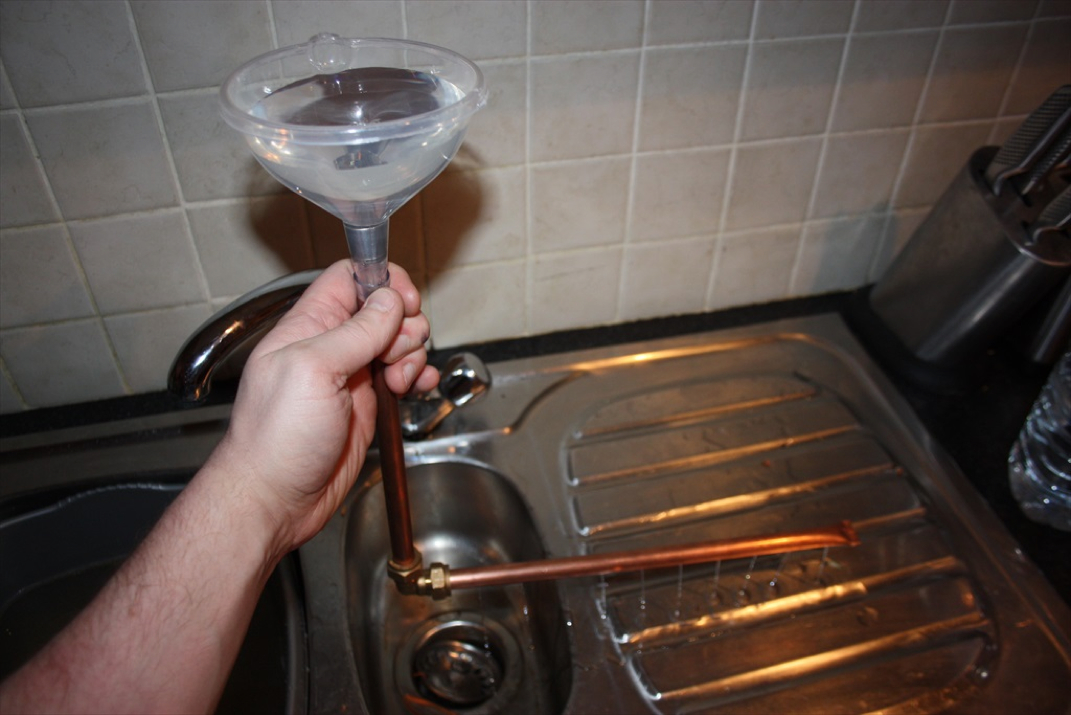
Testing Sparge Arm
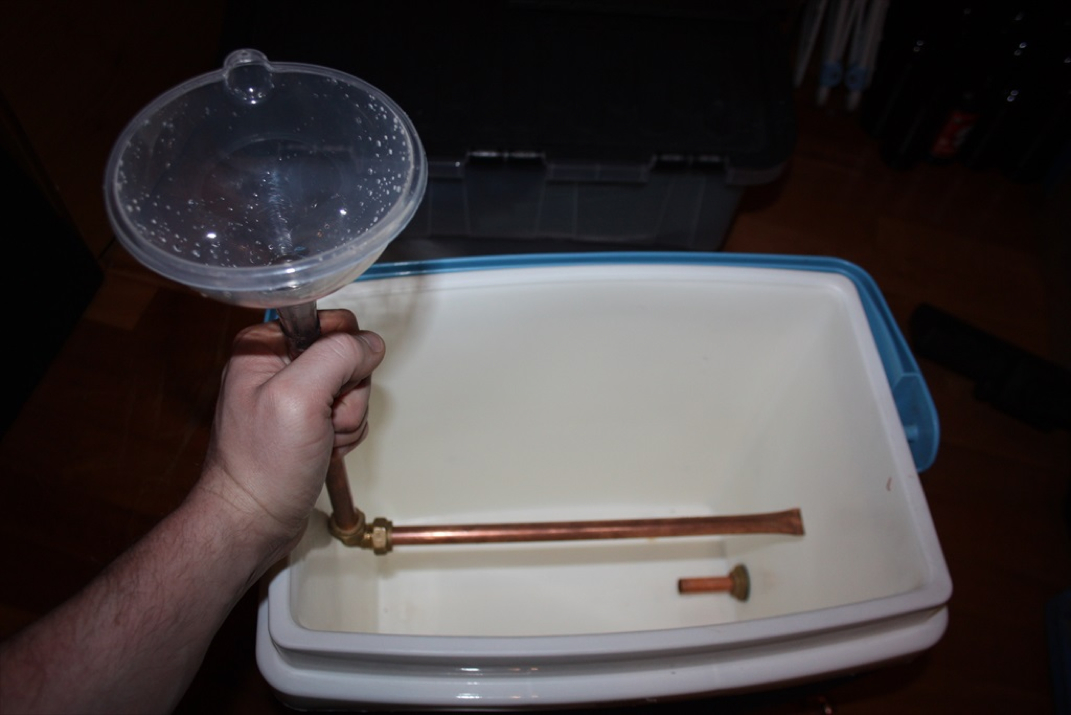
Fits Mash Tun perfectly. Now to get a new brew on the go to test fully!!
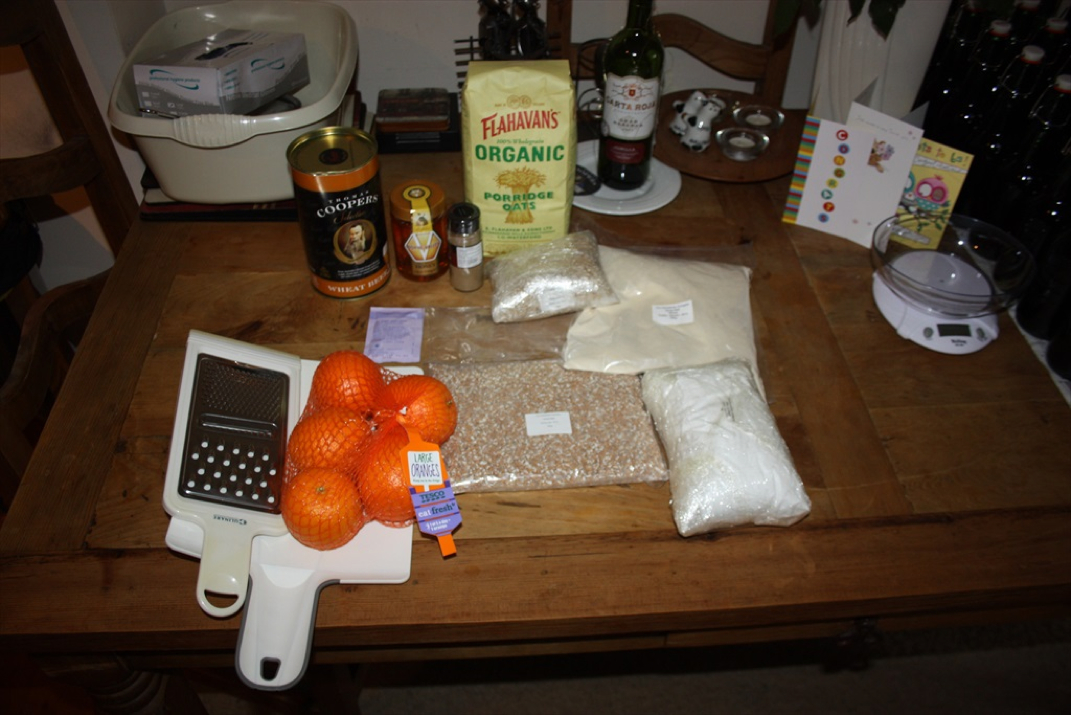
Ingredients
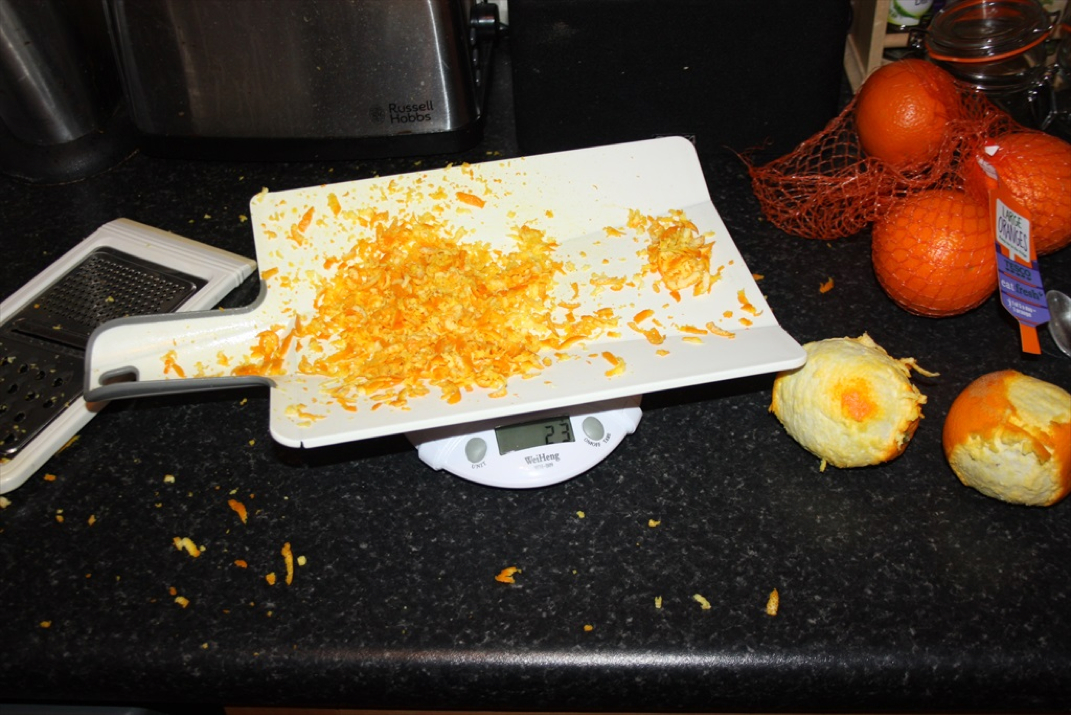
Fresh Orange Peel
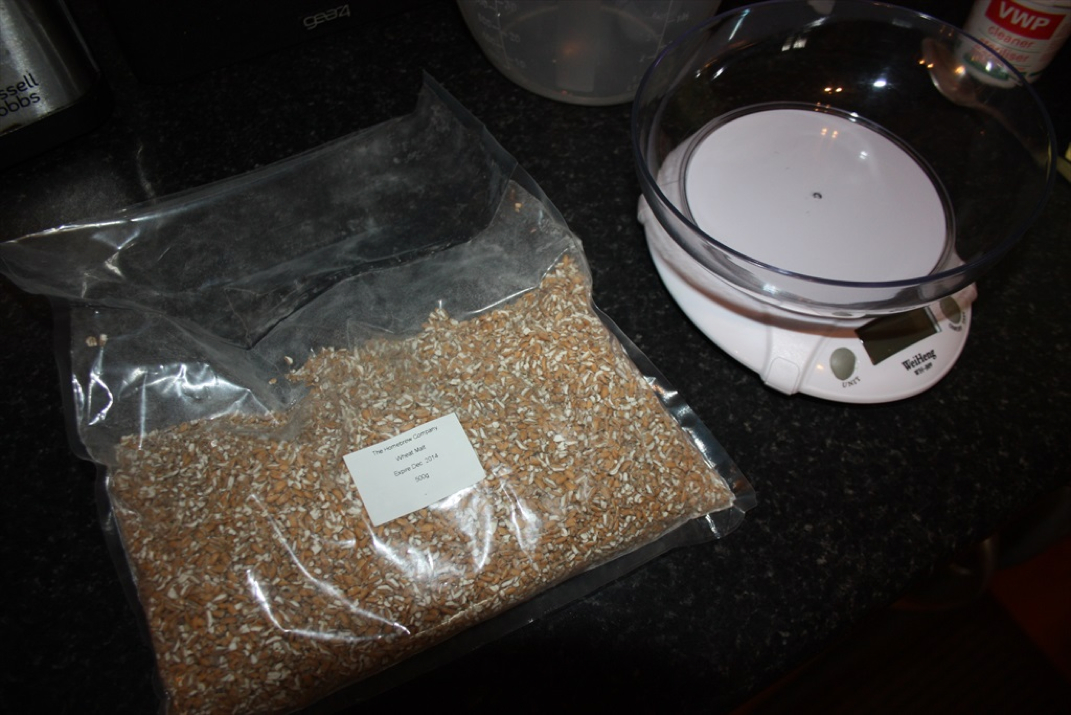
Wheat Malt
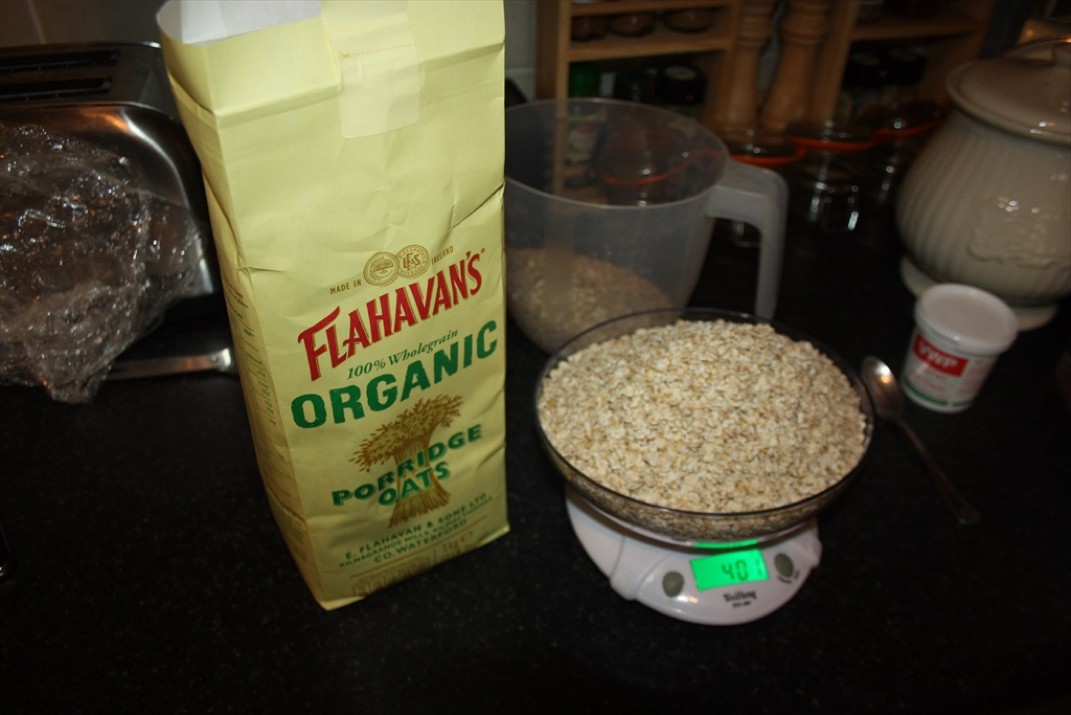
Oat Flakes
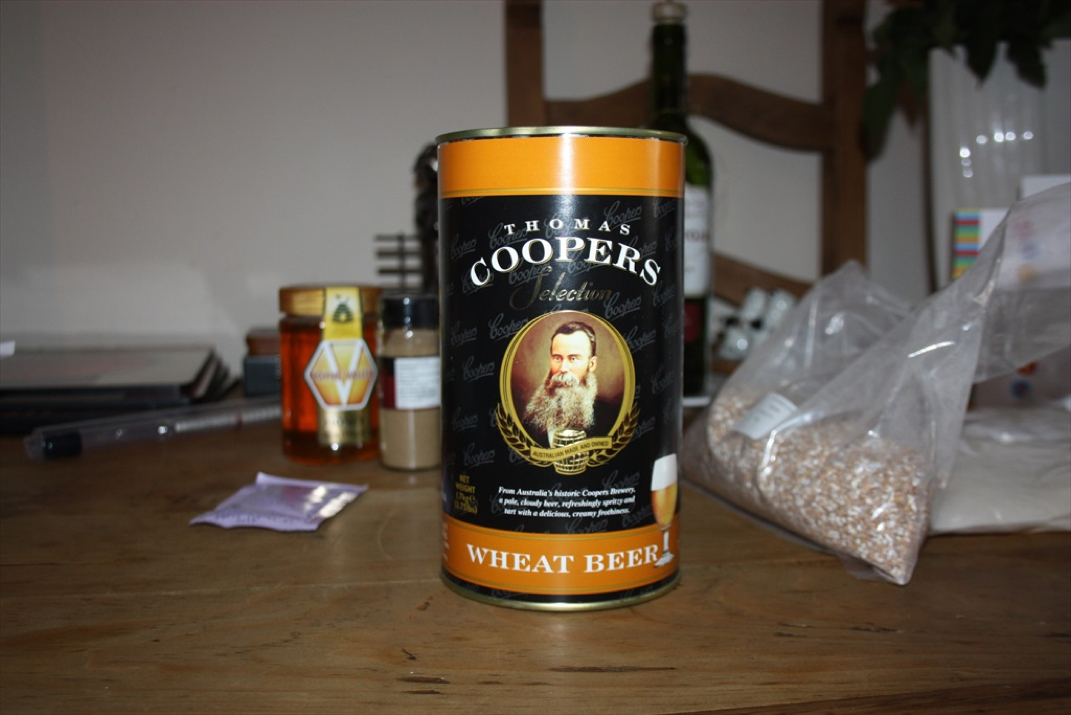
Wheat Malt Extract
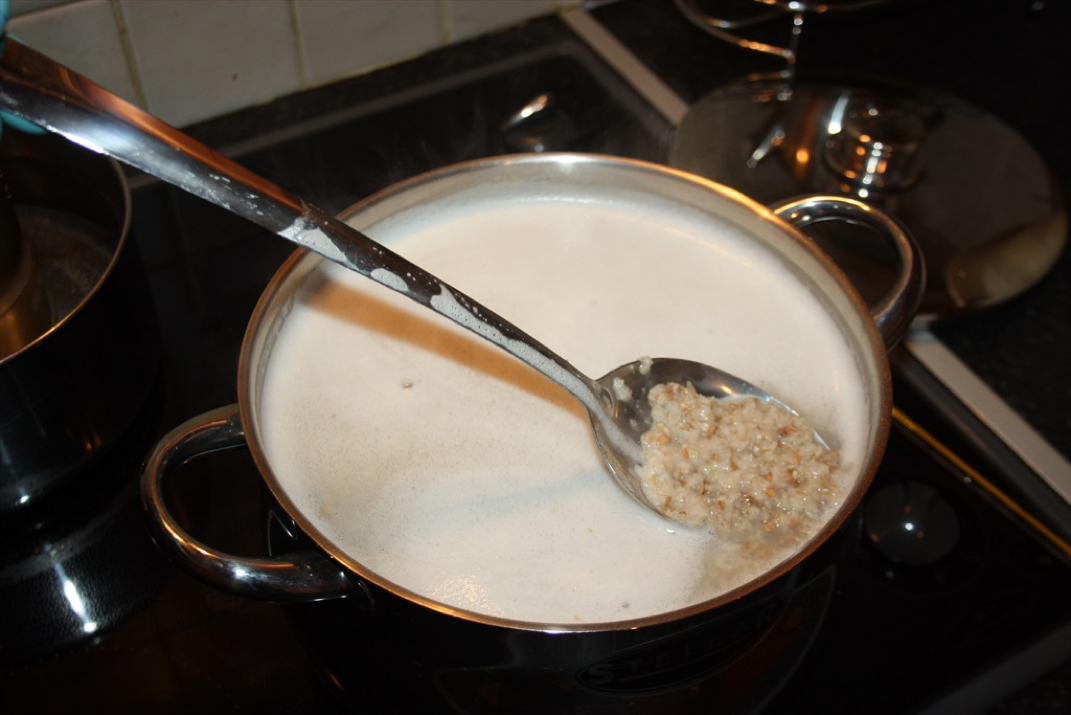
Mashing Oat flakes and Wheat malt
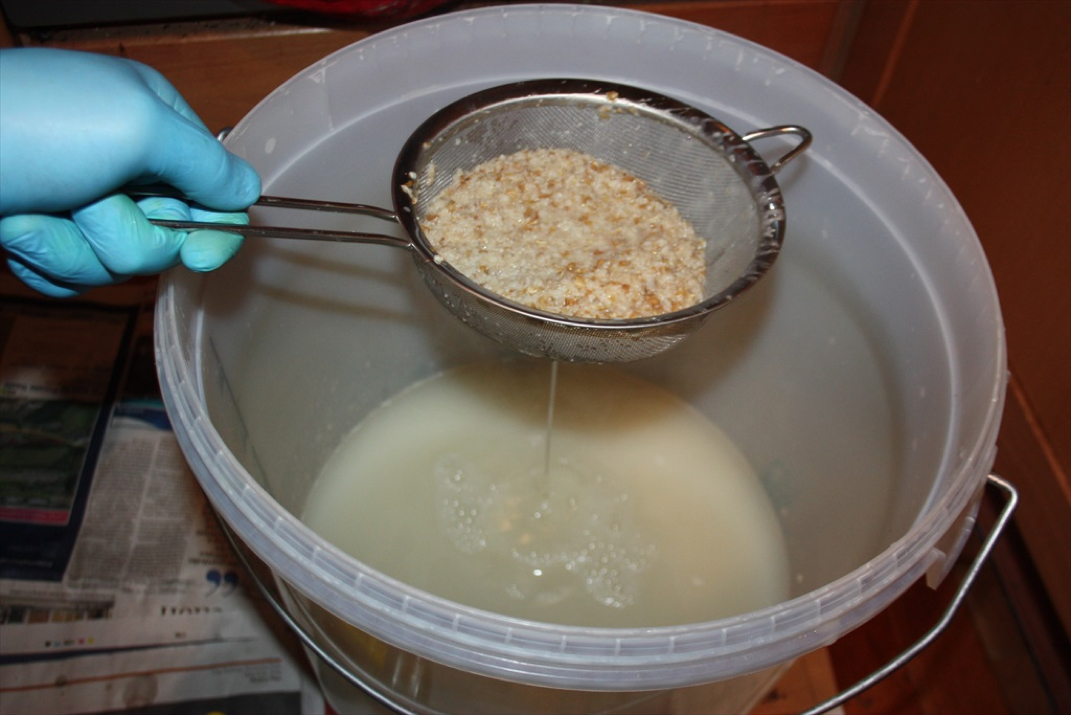
Straining malts into boil kettle
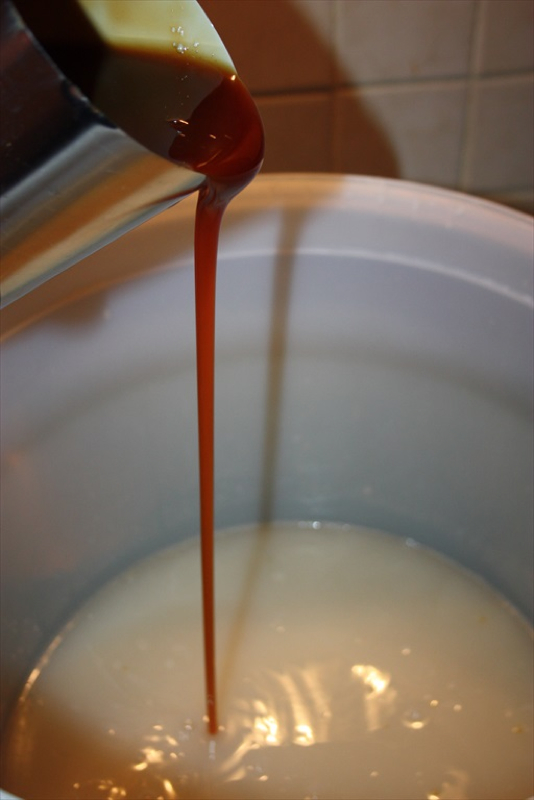
Adding Wheat malt extract to boil kettle

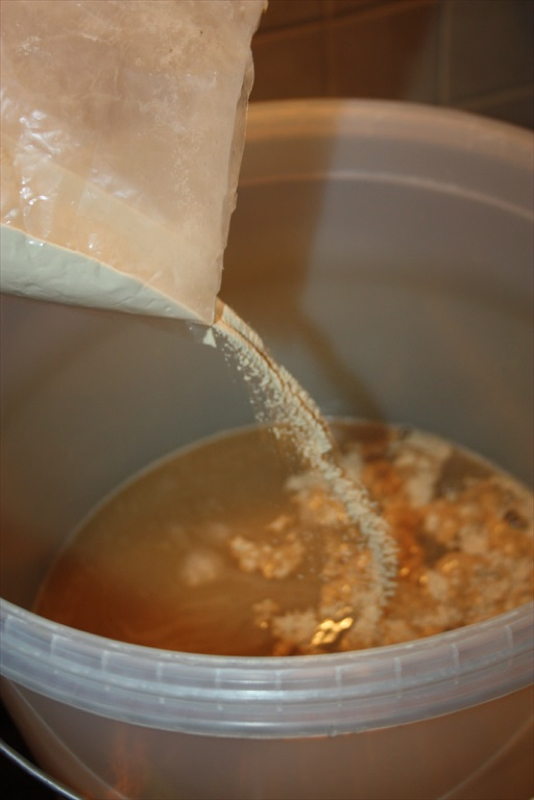
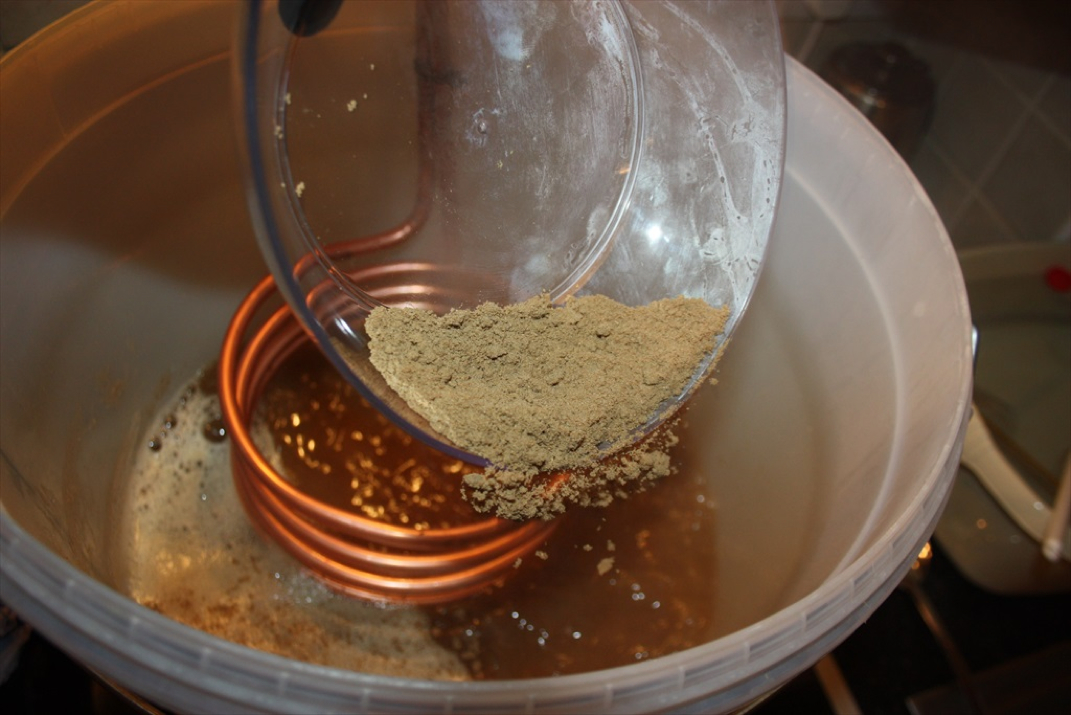
Add wheat Dry Malt Extract

Ready to boil!
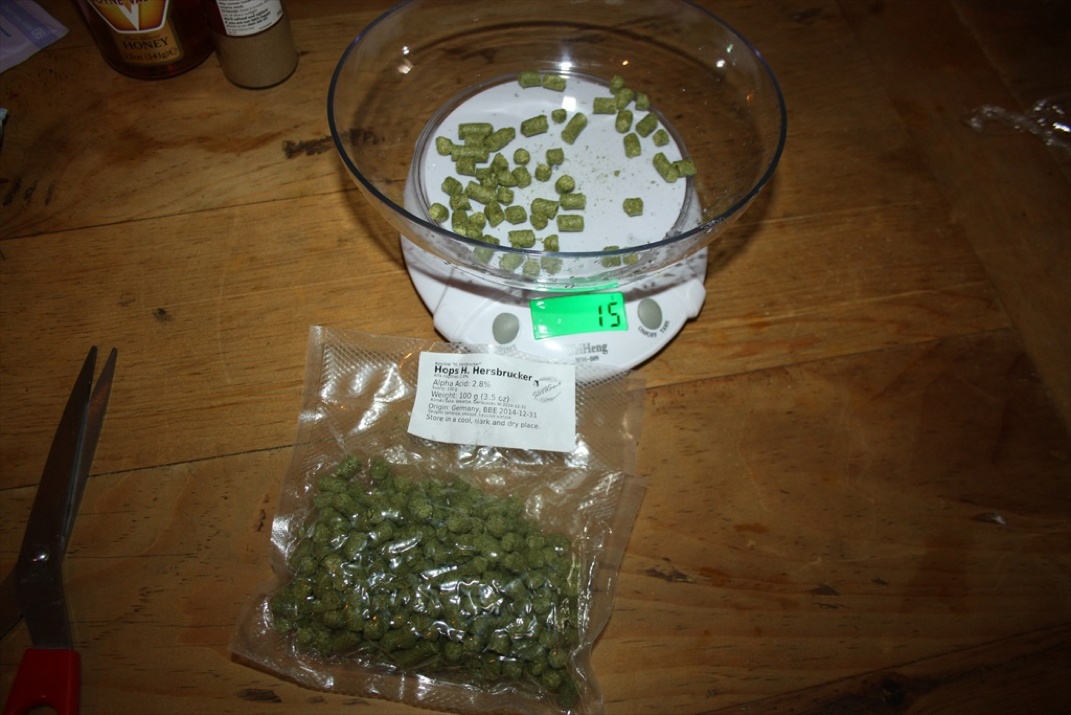
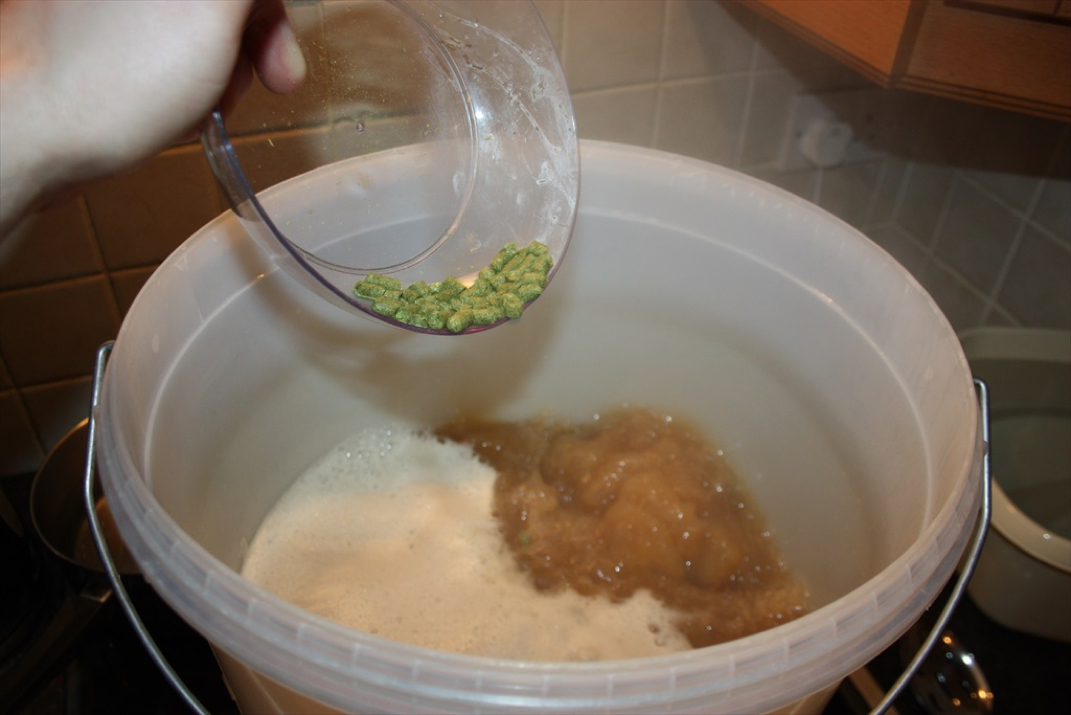
Hallertau hops - add at start of boil
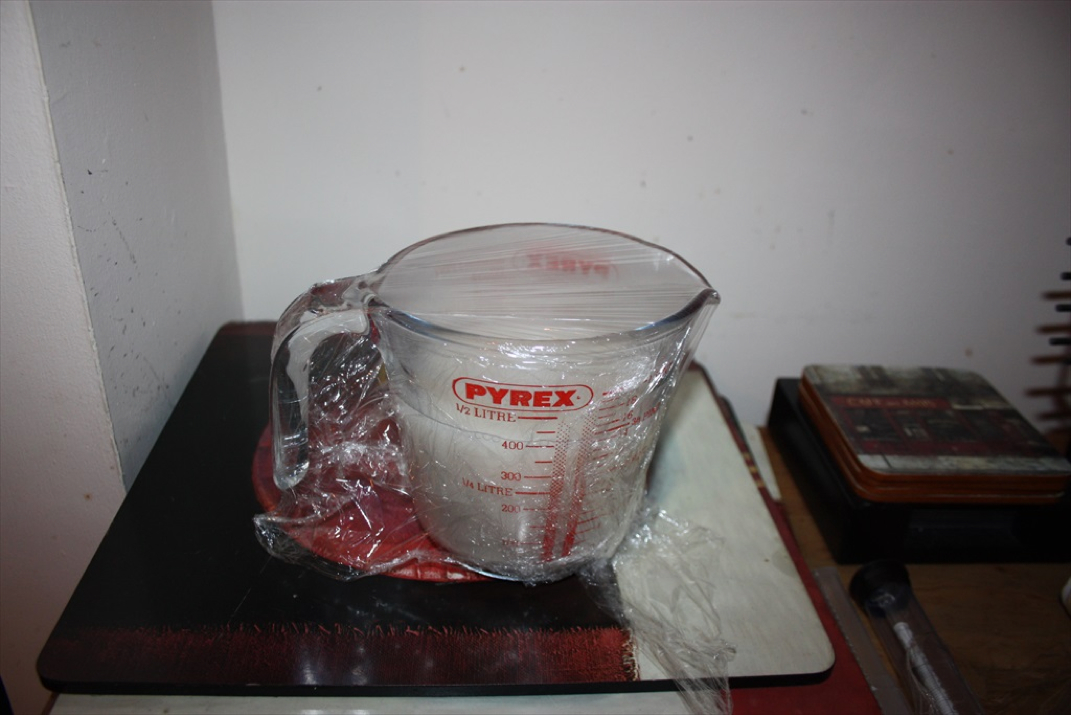
Rehydrating dry Wheat yeast (in jug of boiled and cooled water to 35 *C)

Adding wort chiller 15mins from end of boil
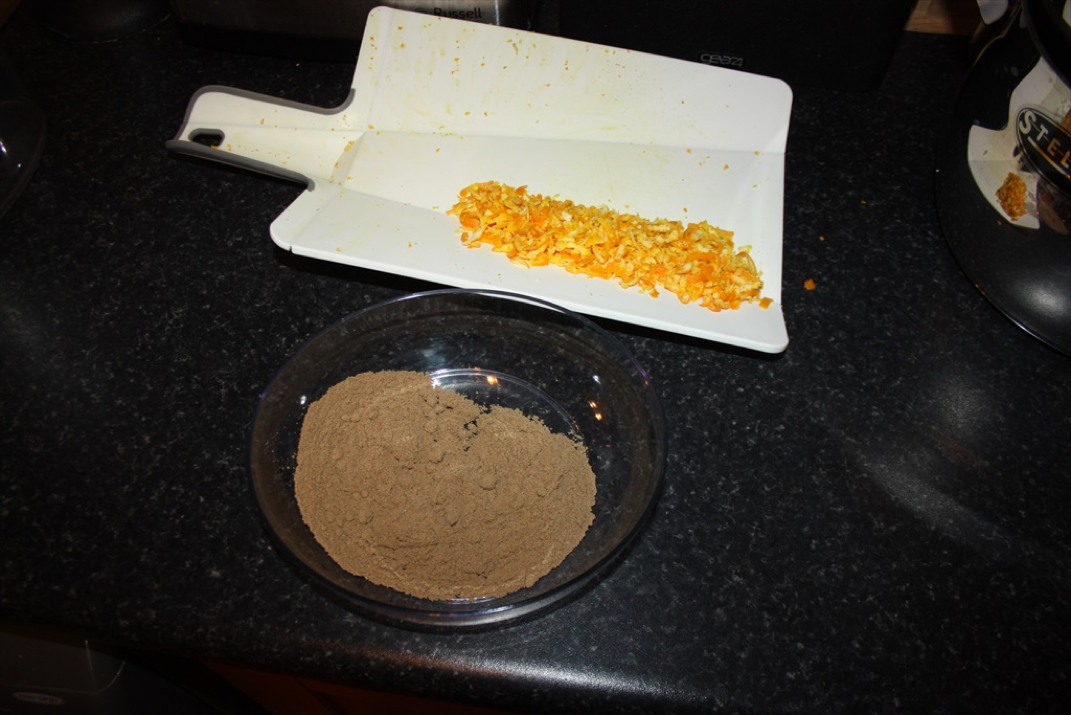
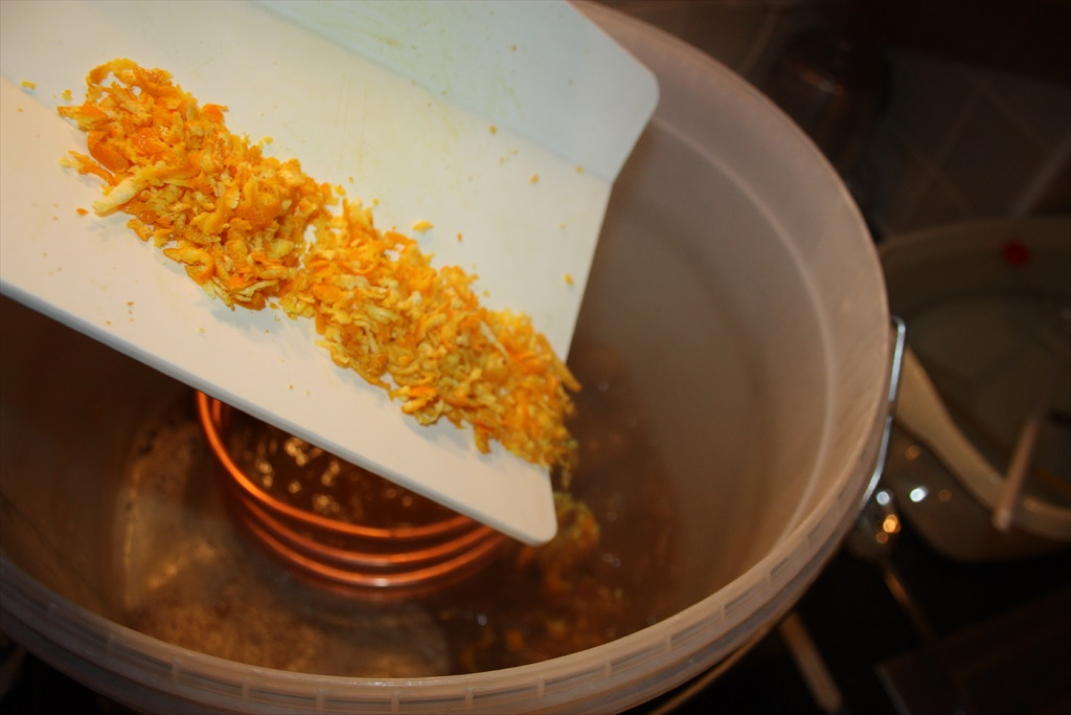
Fresh orange peel and coriander - added 10 mins from end of boil
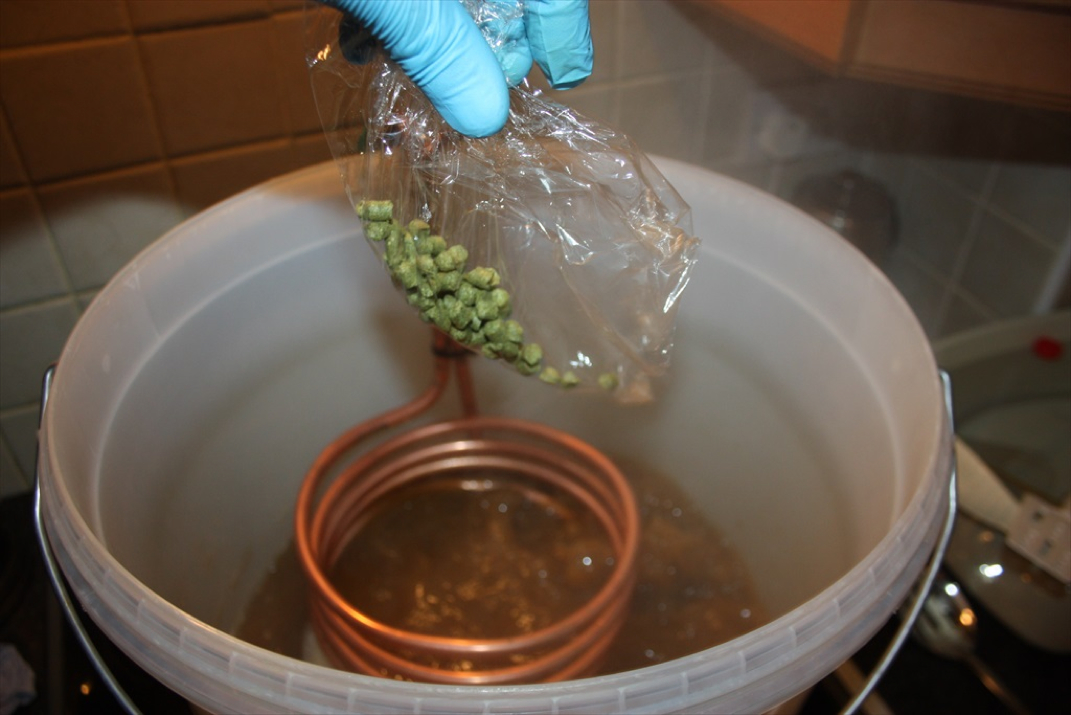
Second addition of Hops
Chilling wort down to 20-25*C
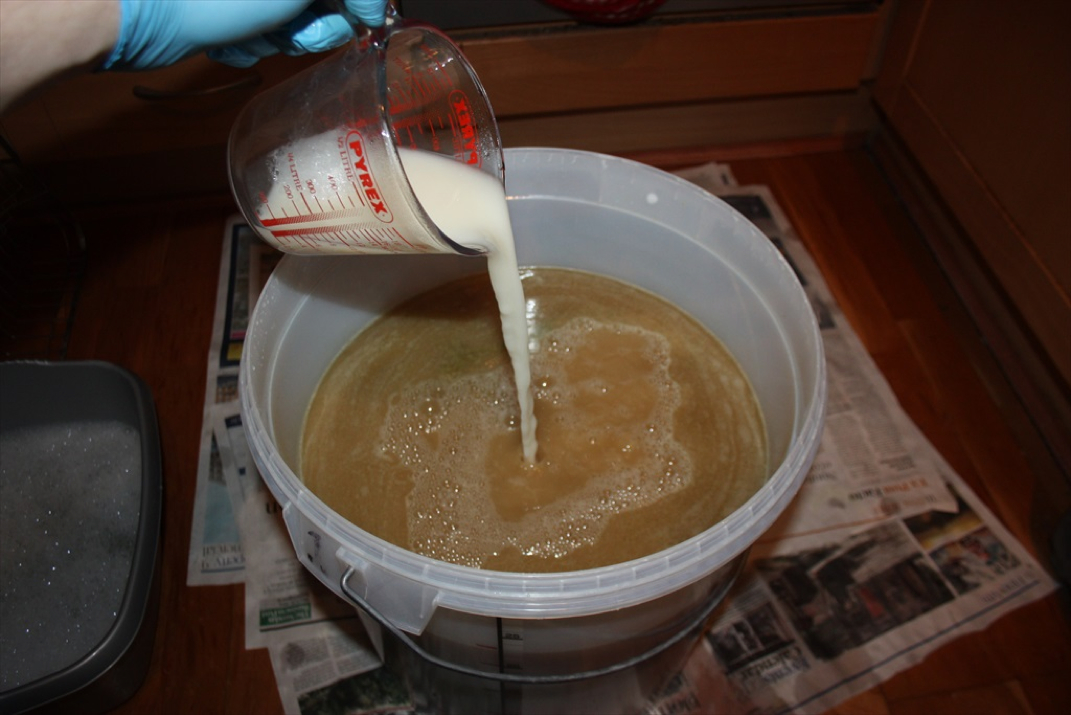
Pitching yeast to cooled wort
Fermenting away at 21 *C
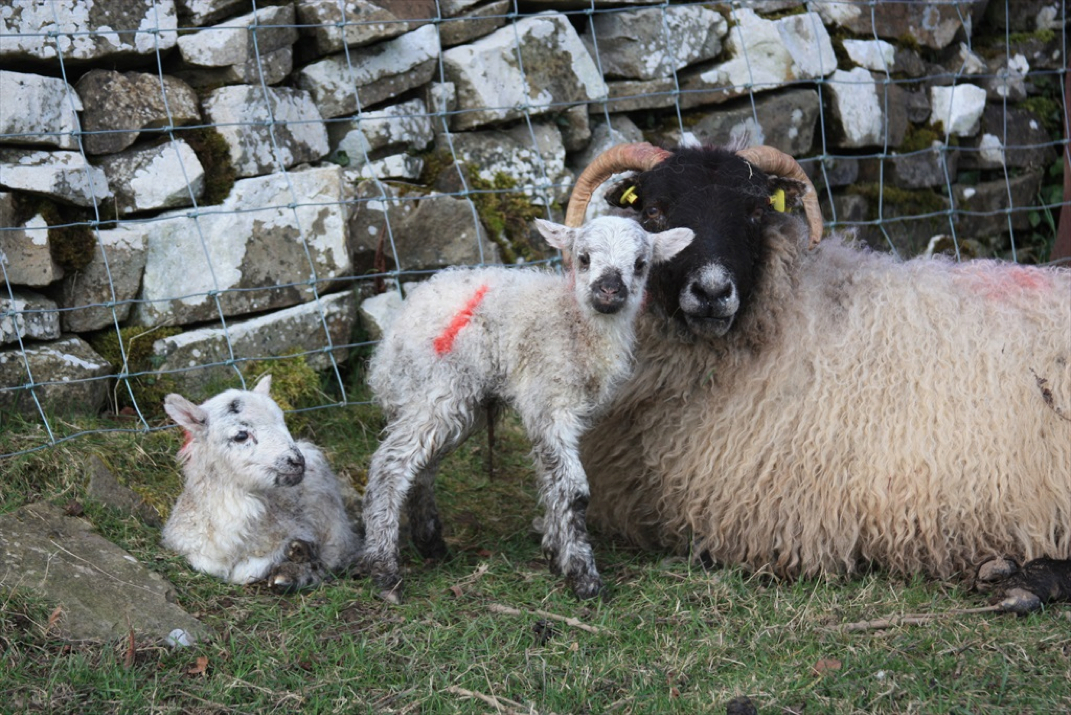
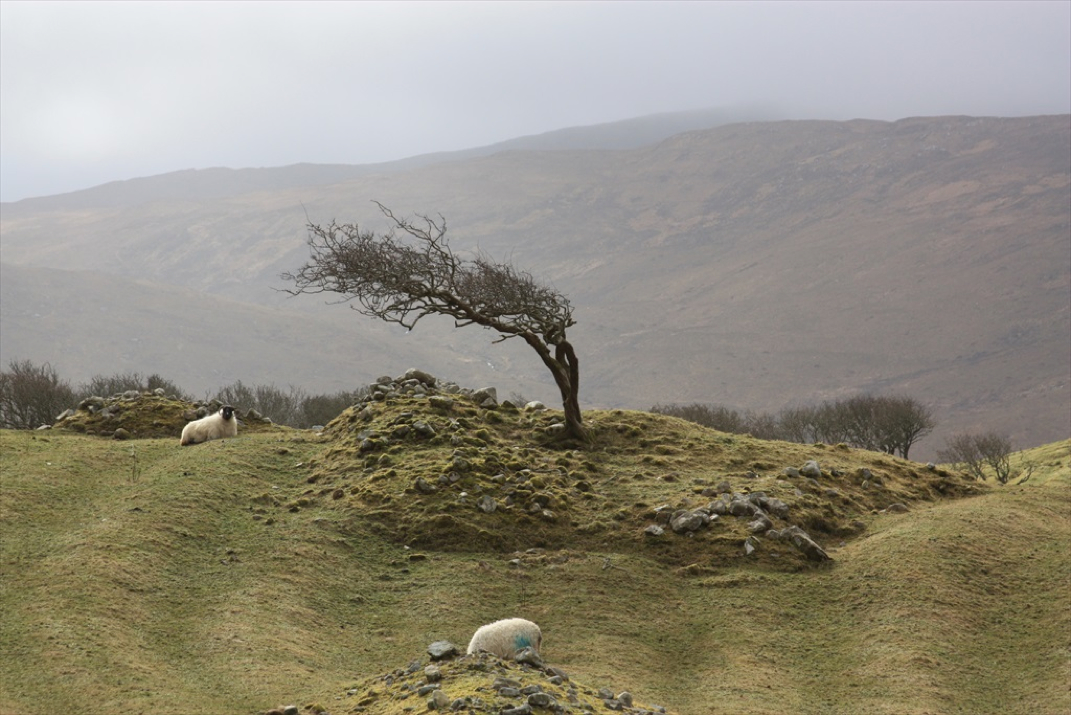
New-born lambs in Creggs, Co. Roscommon

View from Ice House hotel, Ballina

Ballina skyline
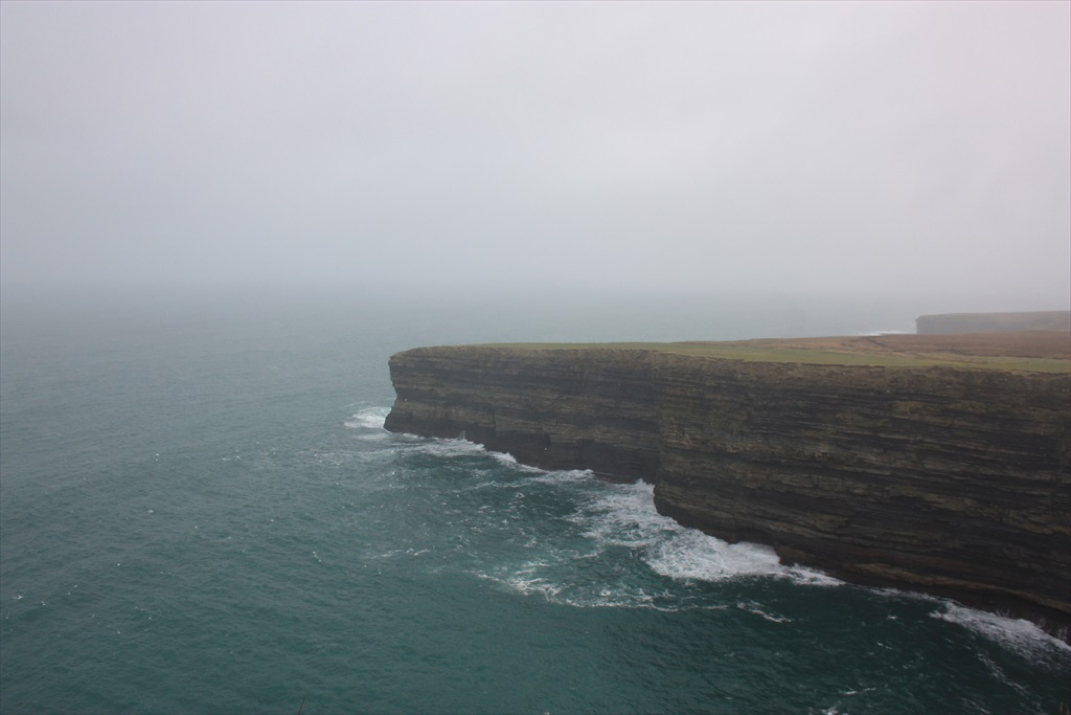
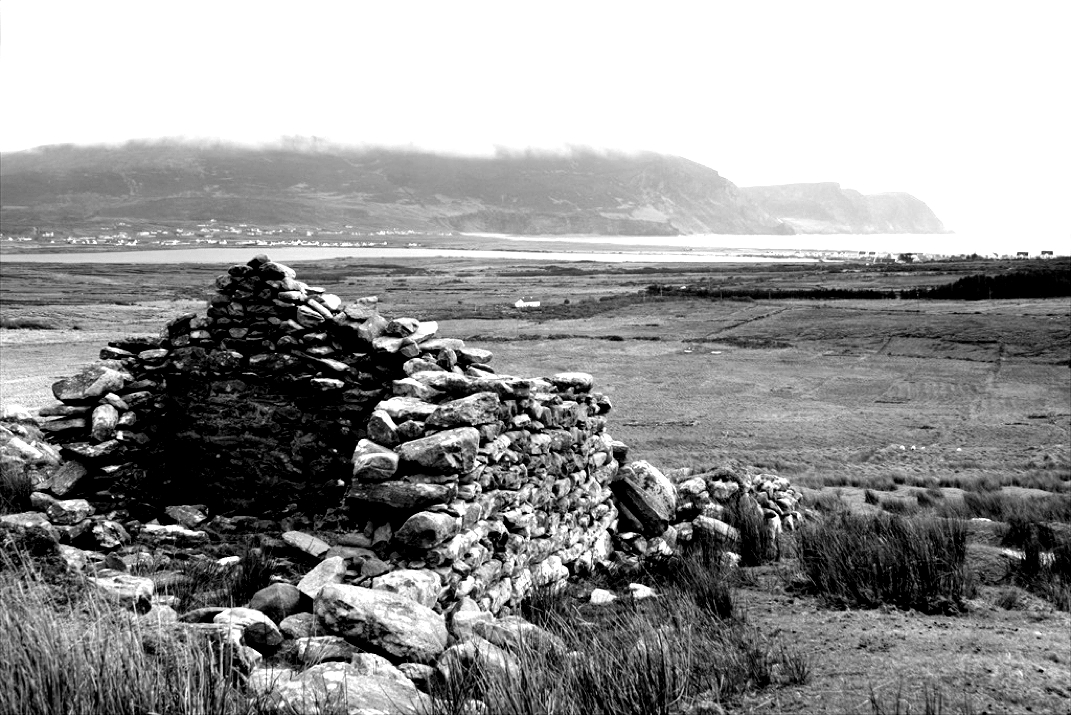
Atlantic Cliffs near Ballycastle, north Co. Mayo
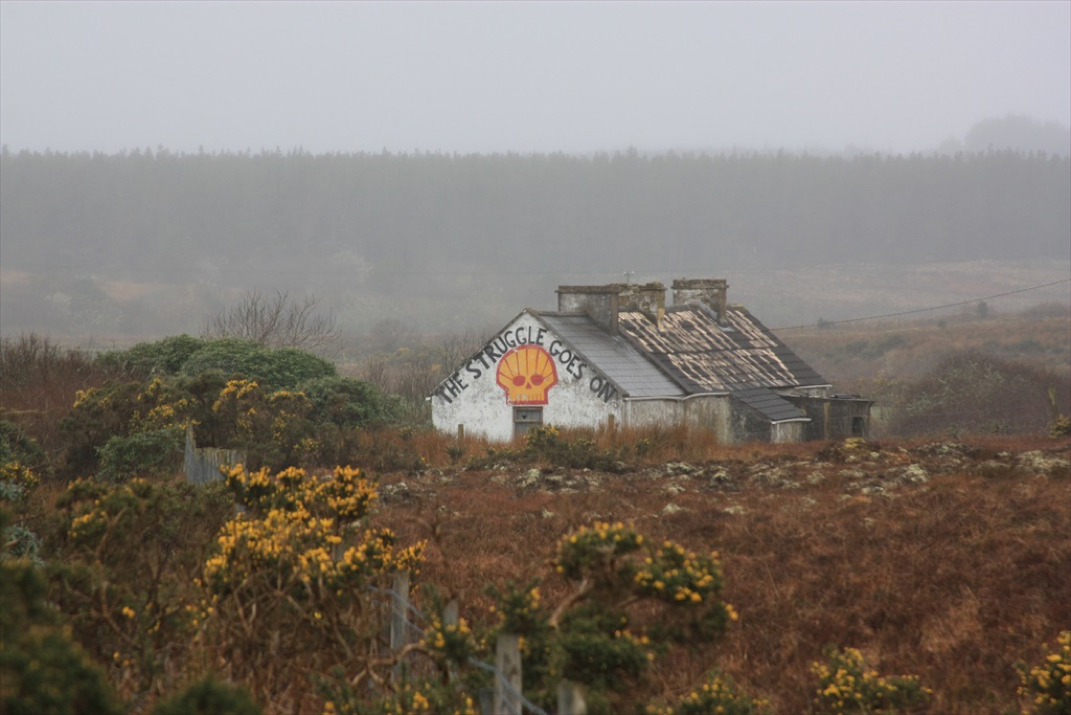
Aged Shell to Sea protest mural at Glenaboy Bridge, Rossport
Mullranny
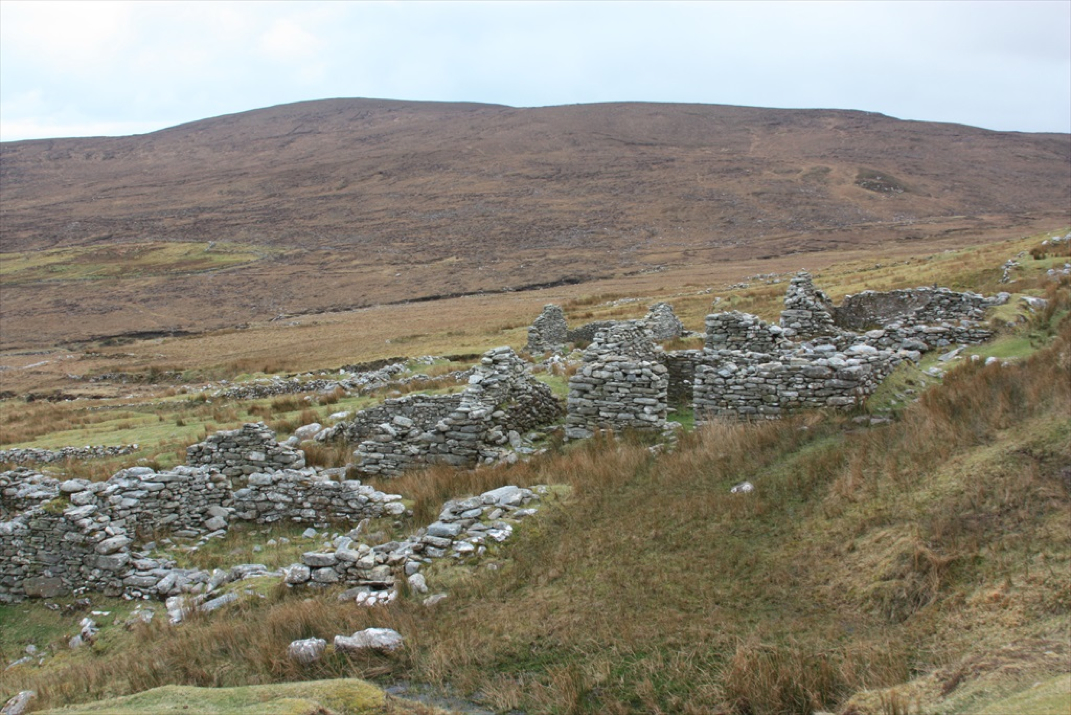
Deserted village near Keel, Achill Island

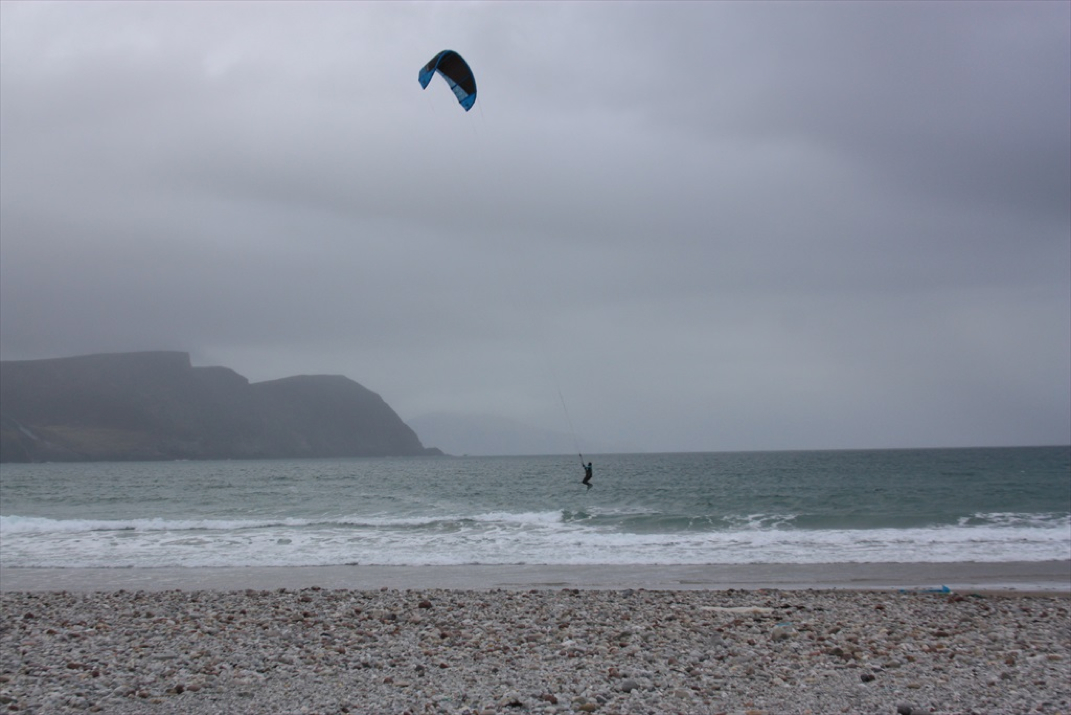
Kite surfing at Keel Beach, Achill Island

SS Creteboom - Concrete boat in River Moy, Ballina
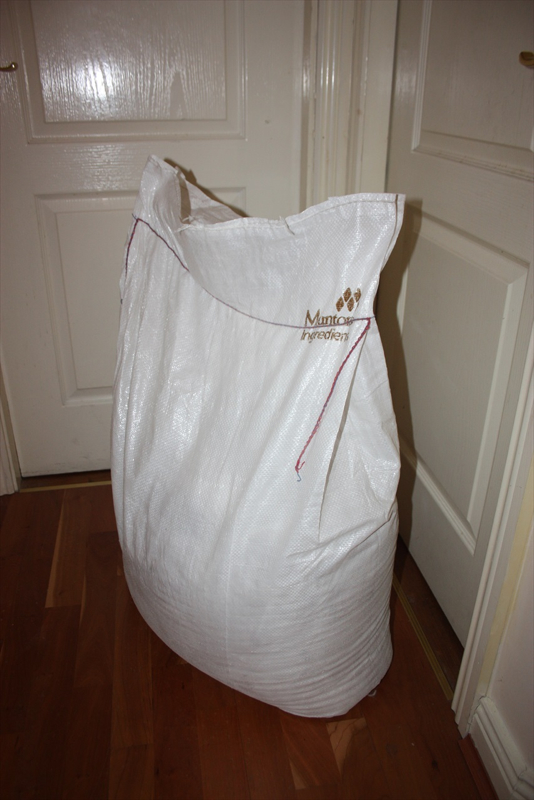
25kg Maris Otter "Base Malt"
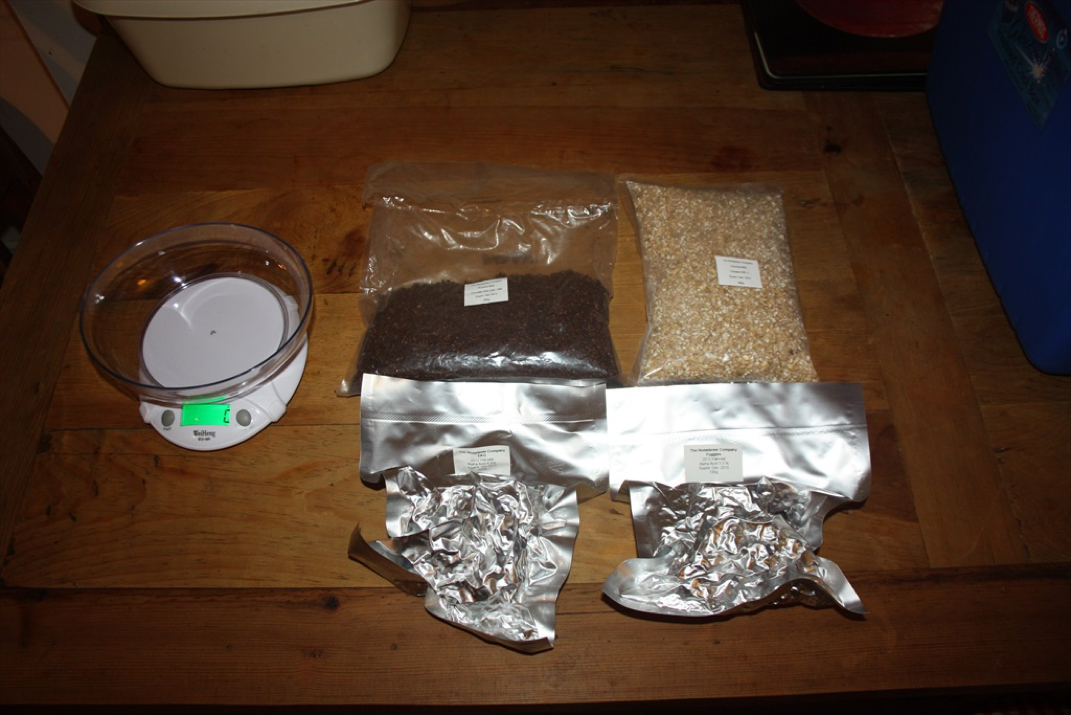
Additional ingredients (Clockwise from Top left) - Chocolate Roast Malt (80g); Caramel Malt (170g); East Golding Hops (28g in total during boil); Fuggles Hops (28g in total during boil)
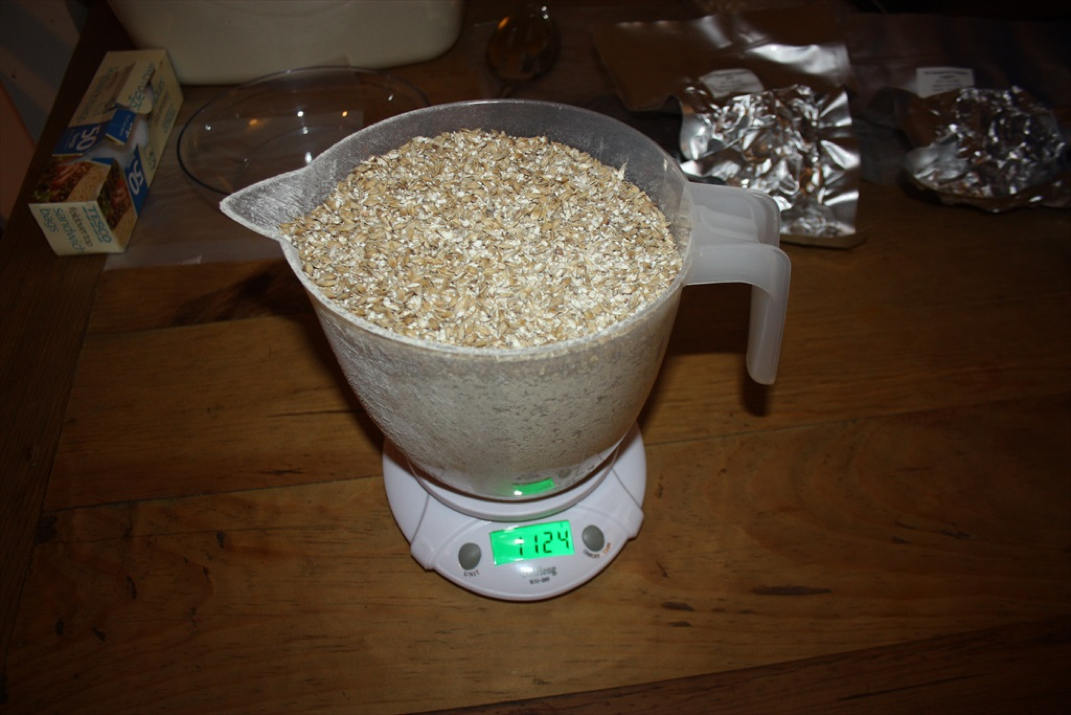
Weighing out 5.3kg of Maris Otter malt grain
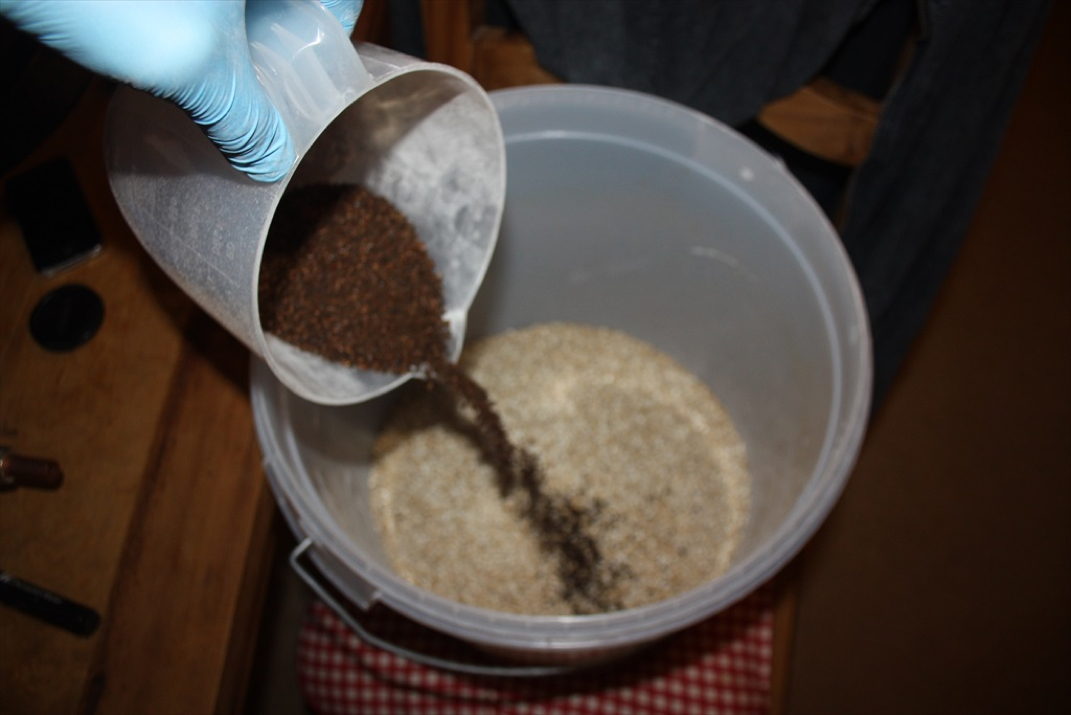
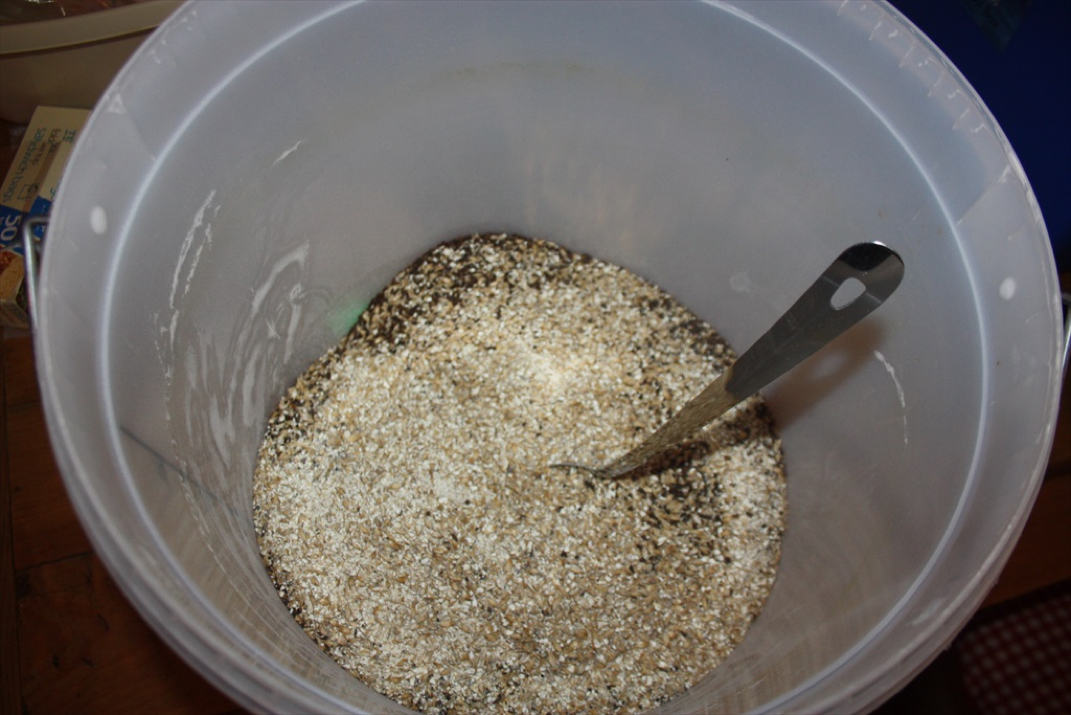
Mixing all 3 x types of grain together in fermenter
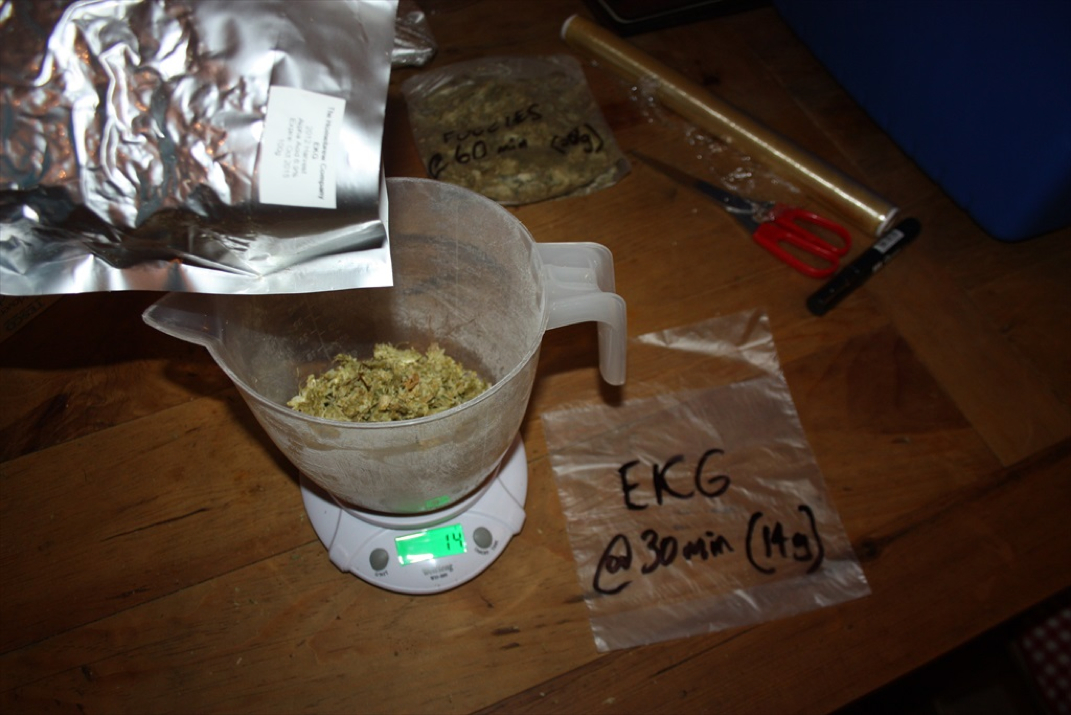
Weighing out Hops into marked bags for ease of addition to Boil at relevant times
Heating 18 litres of water to 77*C for Mashing grains in Mash Tun
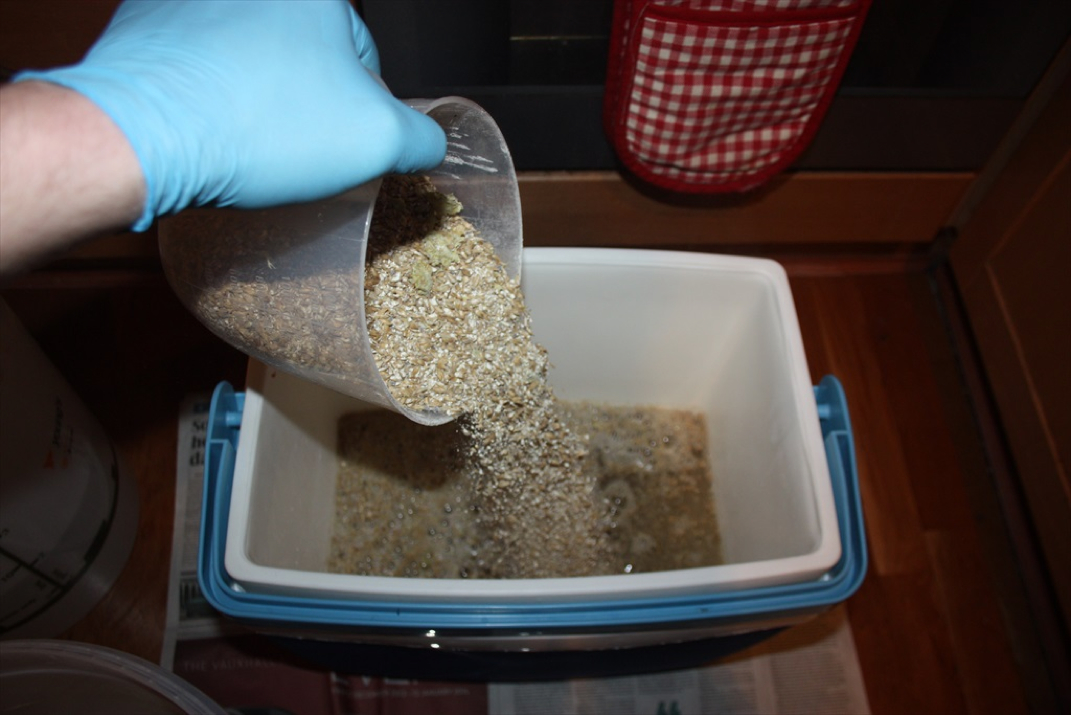
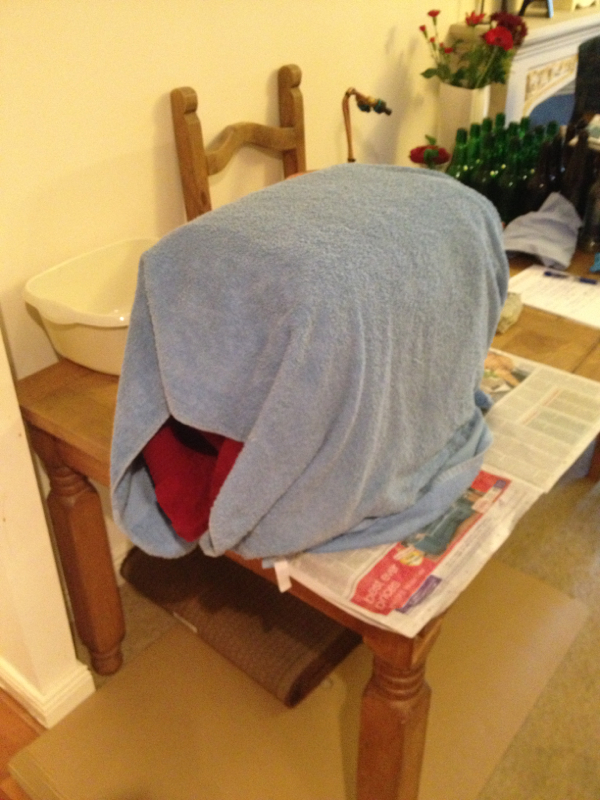
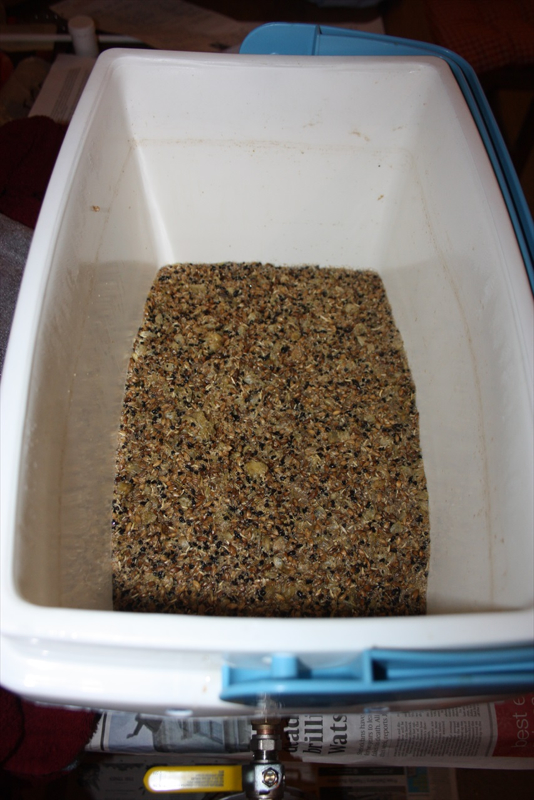
Adding water (18 litres) and entire grain bill (5.5kg) to Mash tun. Mix thoroughly, seal Mash Tun and wrap in blankets for 1 hour
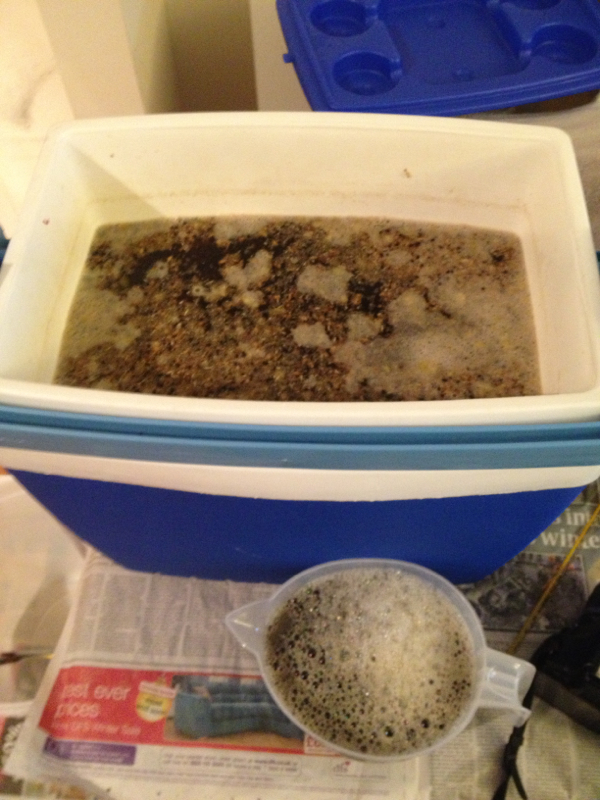
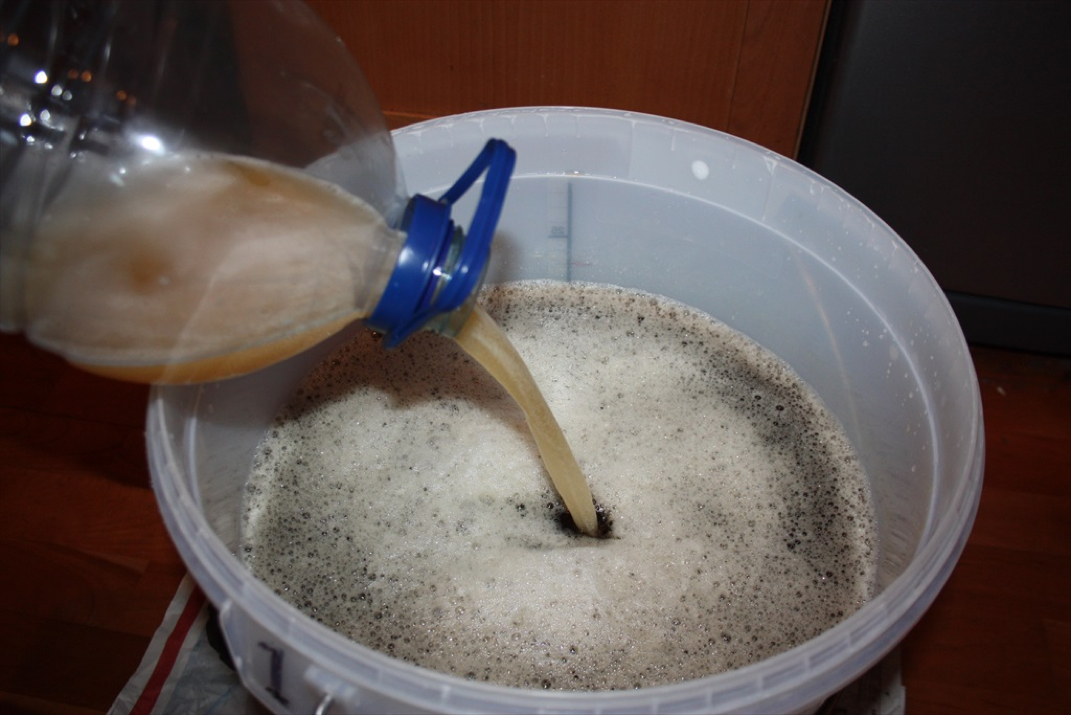
After 1 hour slowly pour 2 x jug fils of wort from Mash Tun outlet (using tap) and pour slowly back over gain bed taking care not to disturb it.
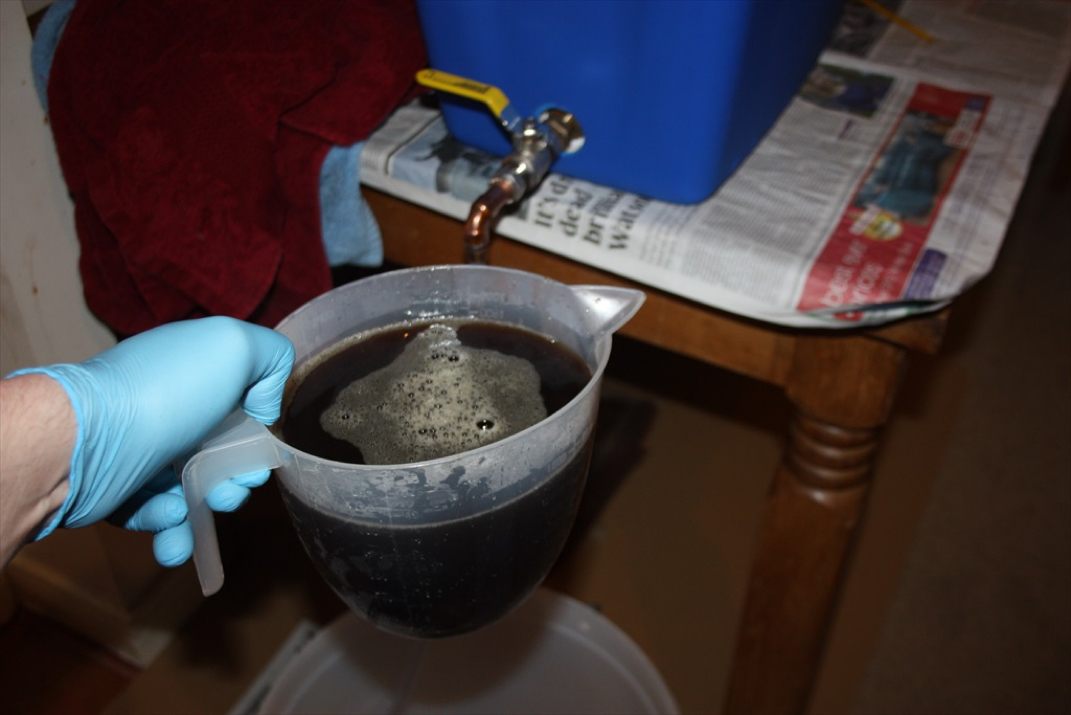
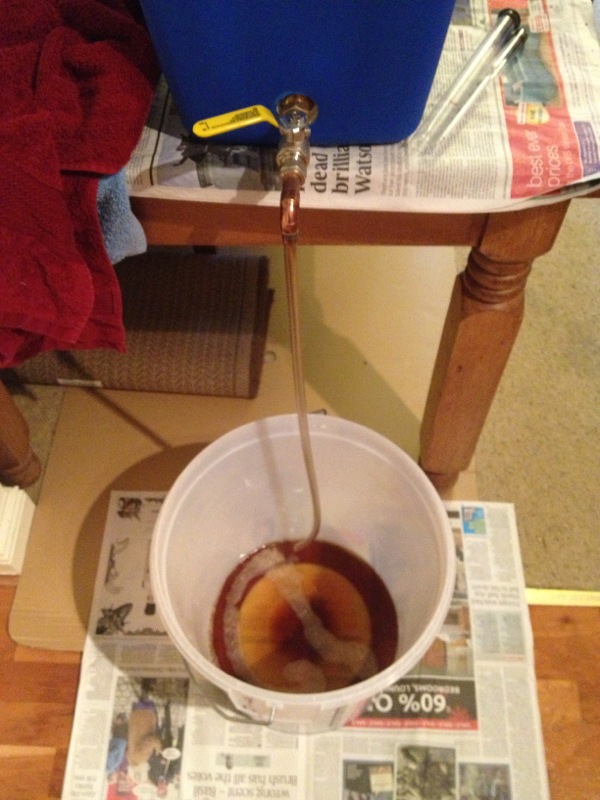
Allow to sit for 10mins then slowly pour off contents of Mash Tun into fermenter - control with tap.
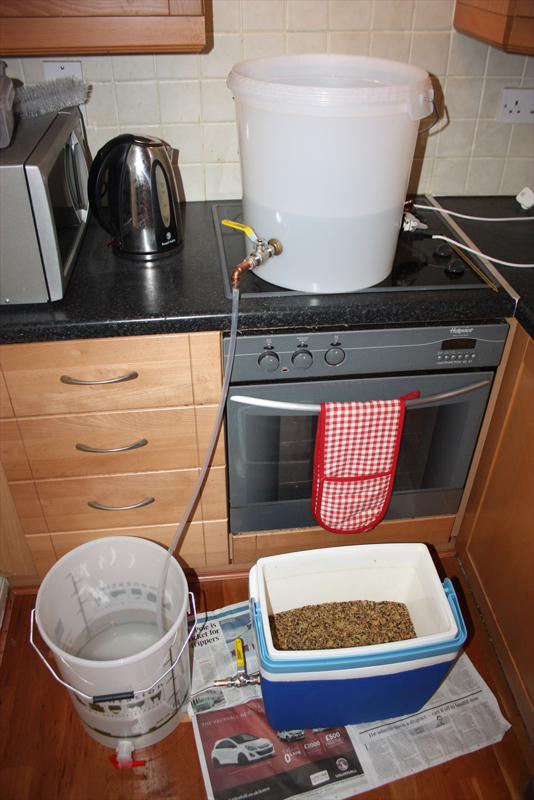
Heat a further 13 litres or so of water for "sparge" and add to Mash Tun
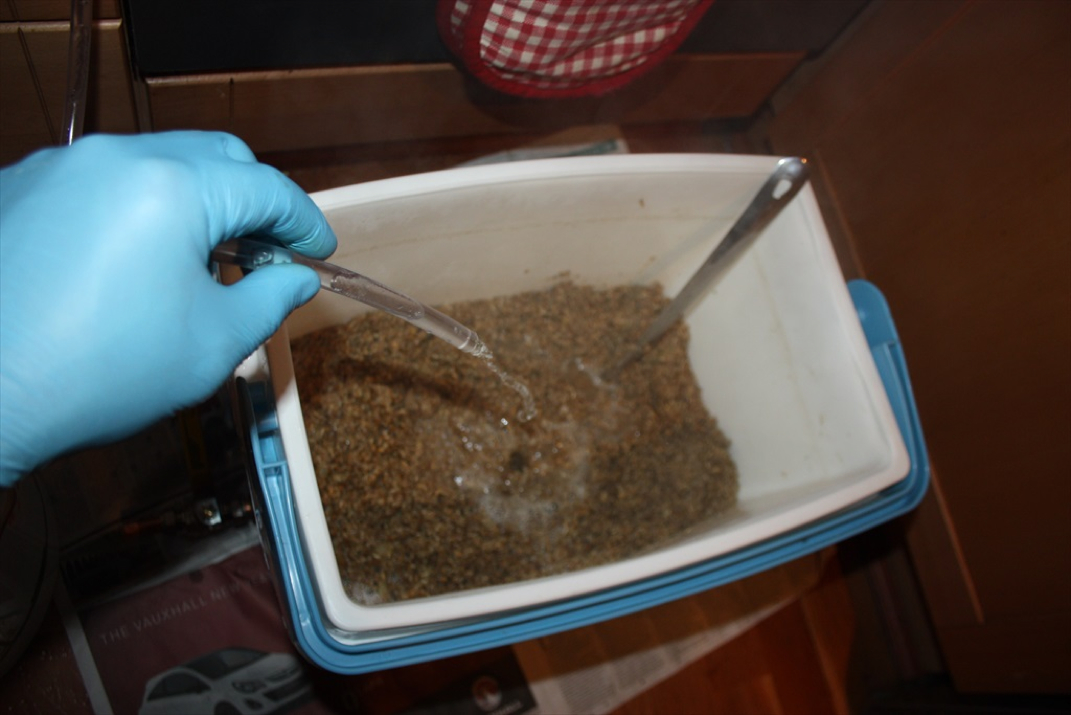
Stir up grain and sparge water and allow to sit for 10 minutes.
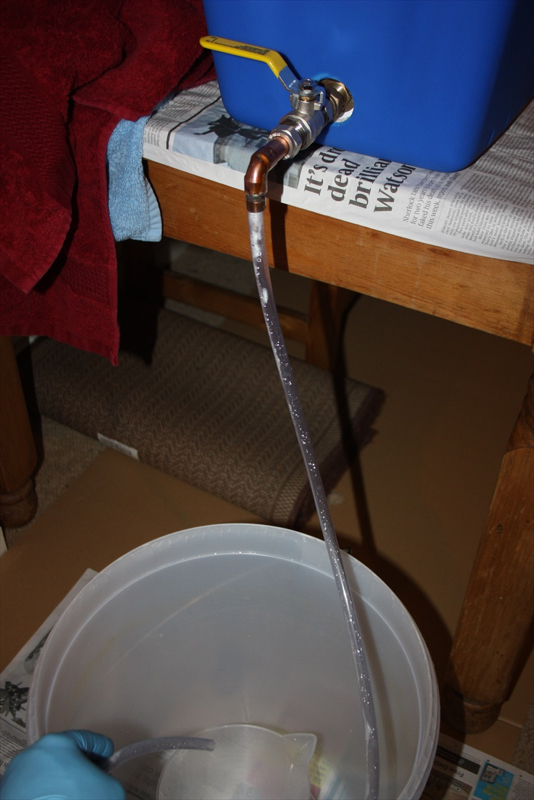
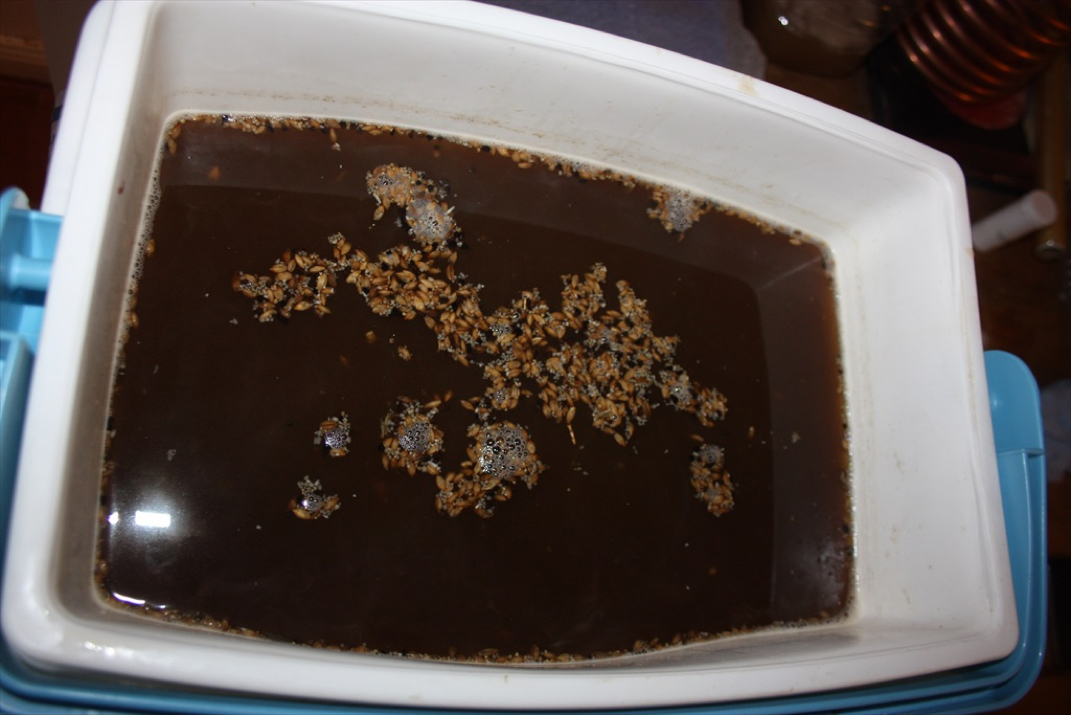
As before, pour off entire remaining wort from Mash Tun into fermenter... There should be approx 25 litres of wort in fermenter now.
Transfer 25 litres of wort to Boil Kettle and bring to boil observing closely to ensure "boil over " is avoided. When temp reaches almost 100 *C one of the elements can be switched off preventing boil over. Remaining boil can be carried out with 1 x element only.
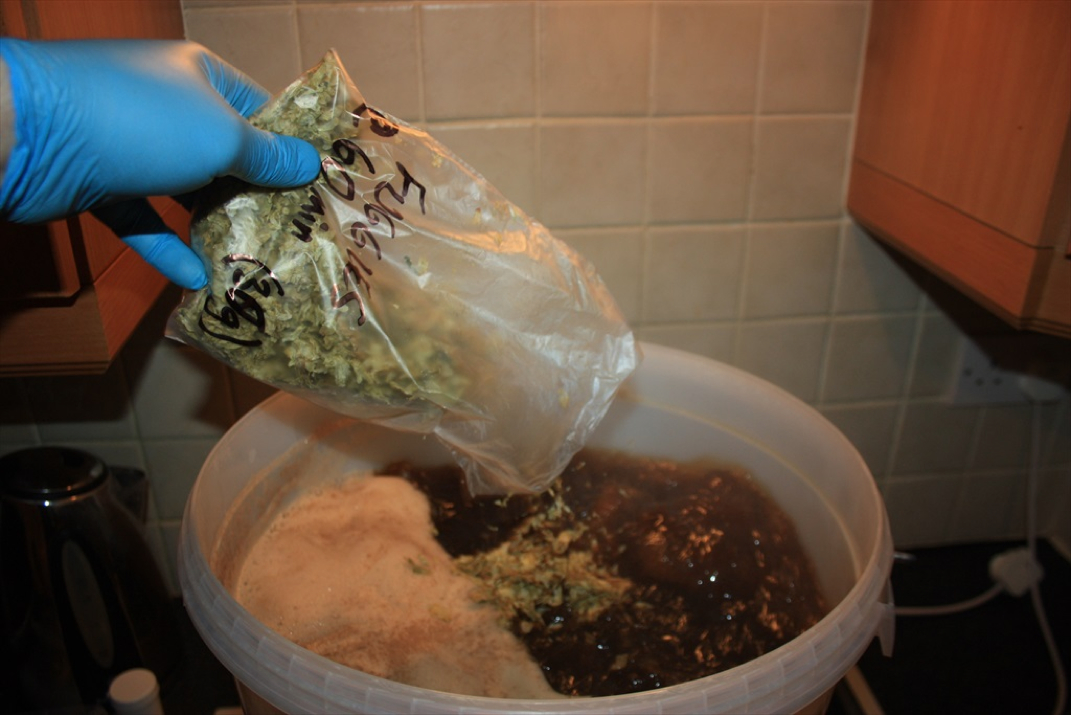
Add Hops at appropriate times.
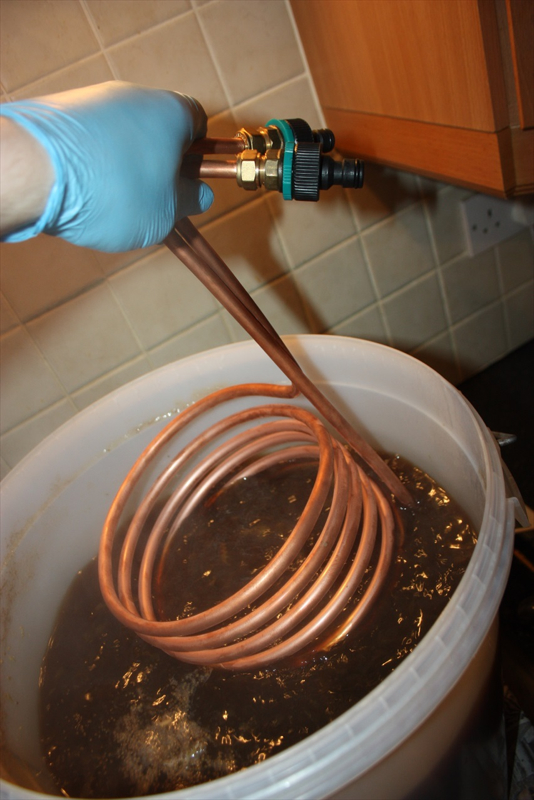
Allow boil to continue until 15 mins from end at which point Wort Chiller should be added to santinise it.
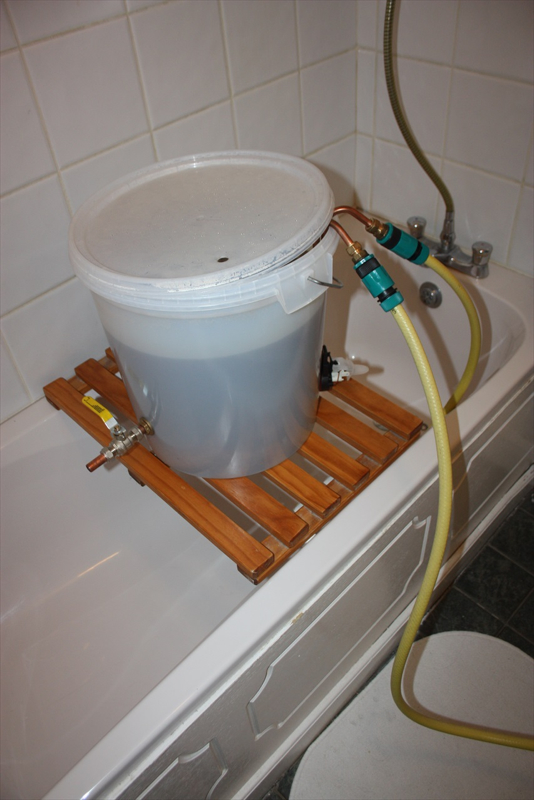
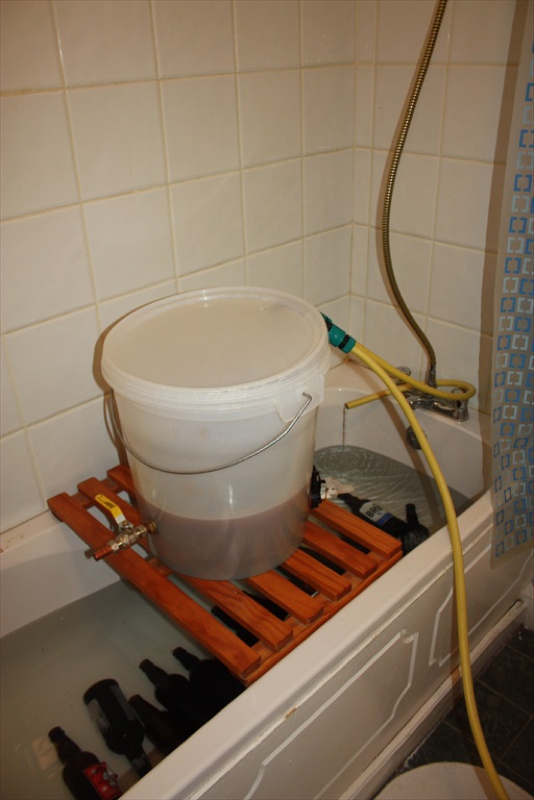
Boil Kettle in bath with wort chiller connected to tap as a basic heat exchanger to cool wort down from boiling point to approx 20 - 25 *C (max). This normally takes up to 30mins to happen.
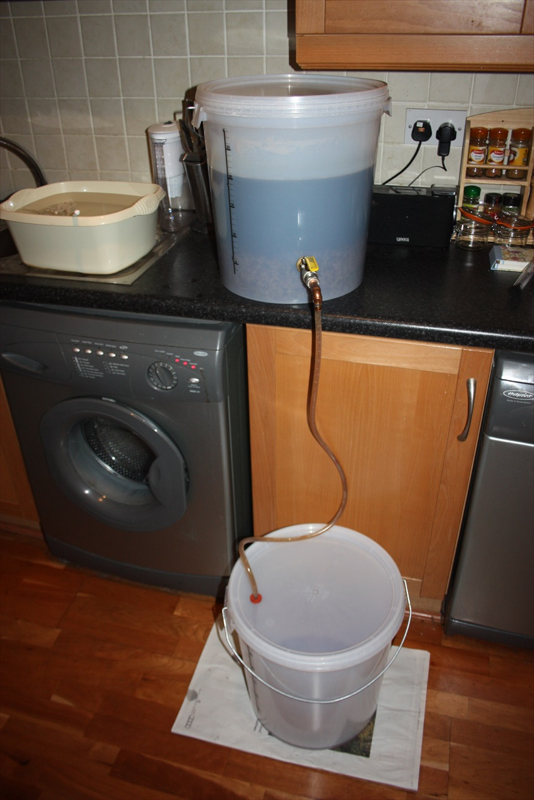
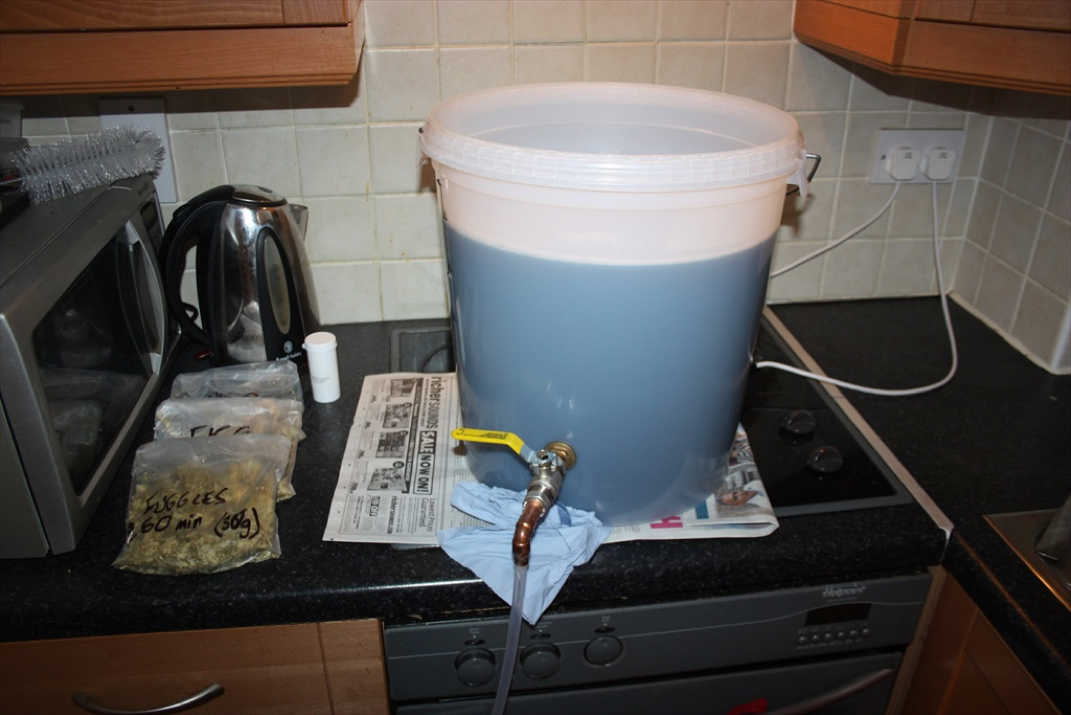
Transfer cooled wort from Boil Kettle to fermenter
When desired temp is confirmed (22*C) pitch pre-prepared liquid yeast into wort and stir vigorously to add oxygen to wort.
At this point take gravity reading (OG) and record for later use to enable ABV to be calculated. 
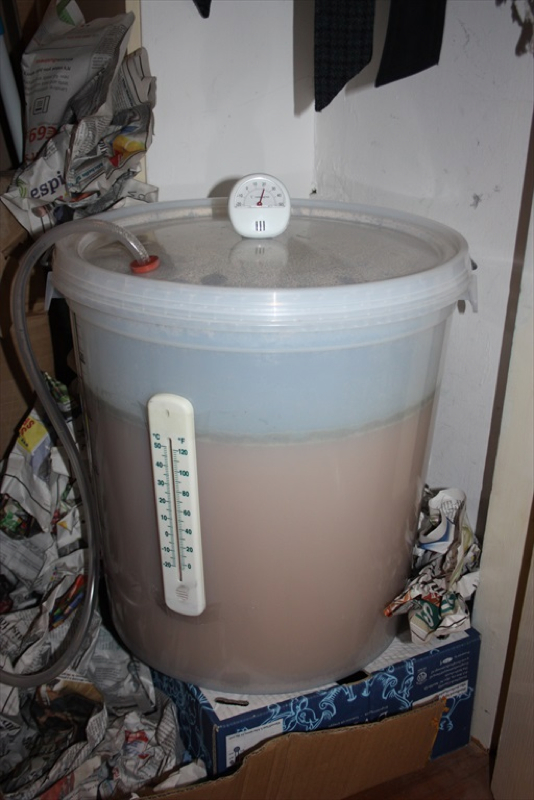
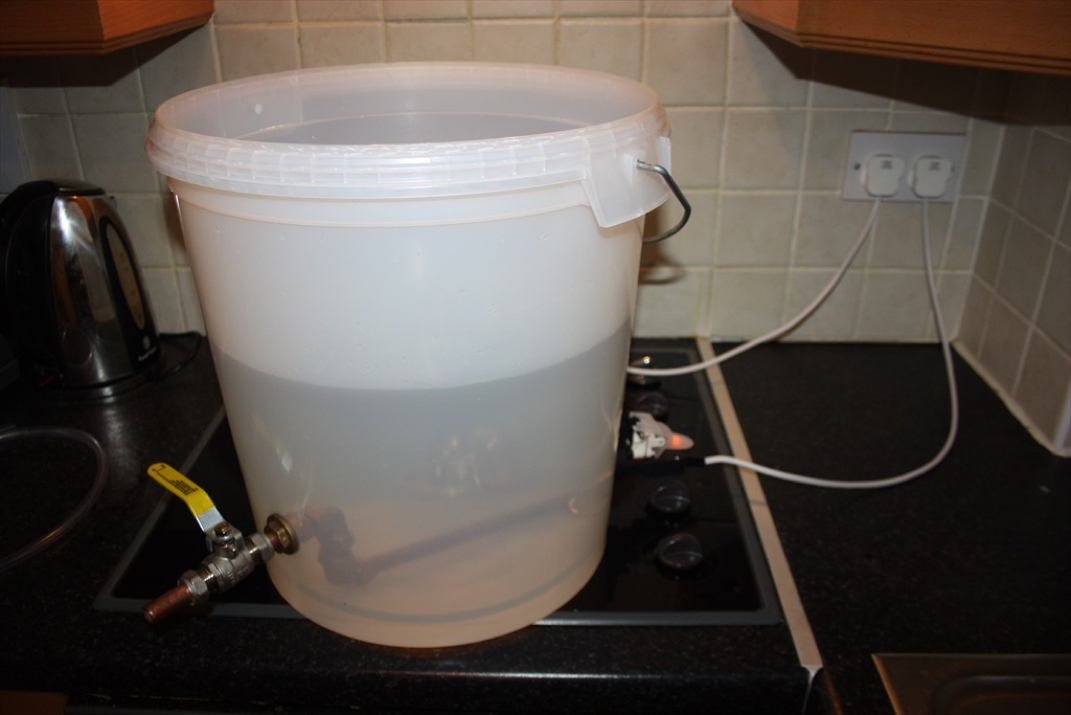
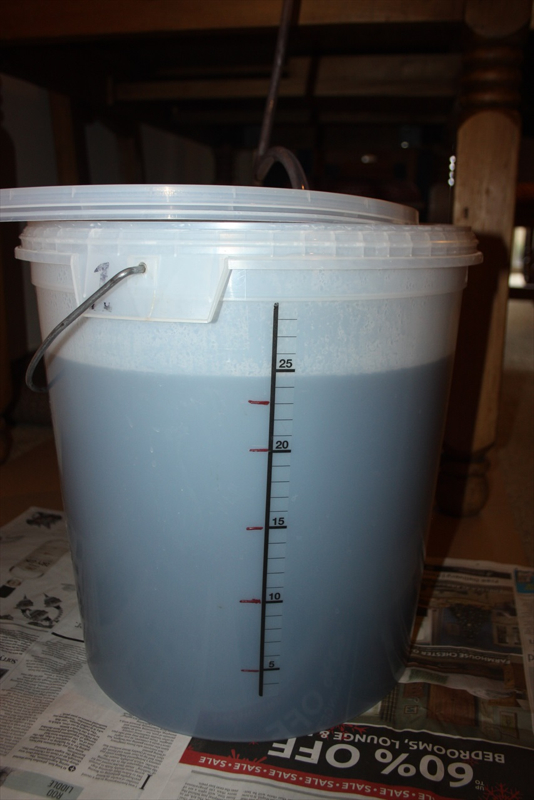
Fermenter in cool location ready for 2 weeks fermentation. Following this, ale will be bottled, conditioned for approx 3-4 weeks then will be ready to consume! NOTE : As can be observed in the photo, airlock was originally installed on fermenter but due to vigorous fermentation, this airlock had to be replaced with a "blow off" tube - length of silicone pipe from fermenter into bottle of sanitised water.
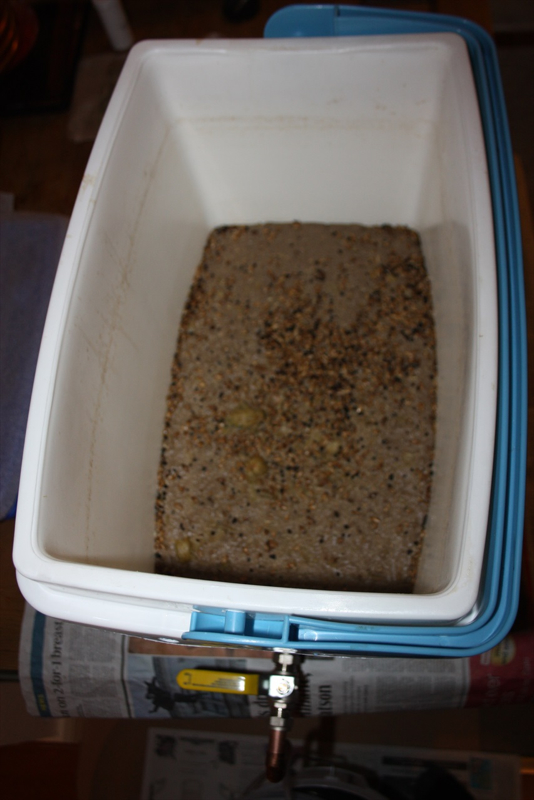
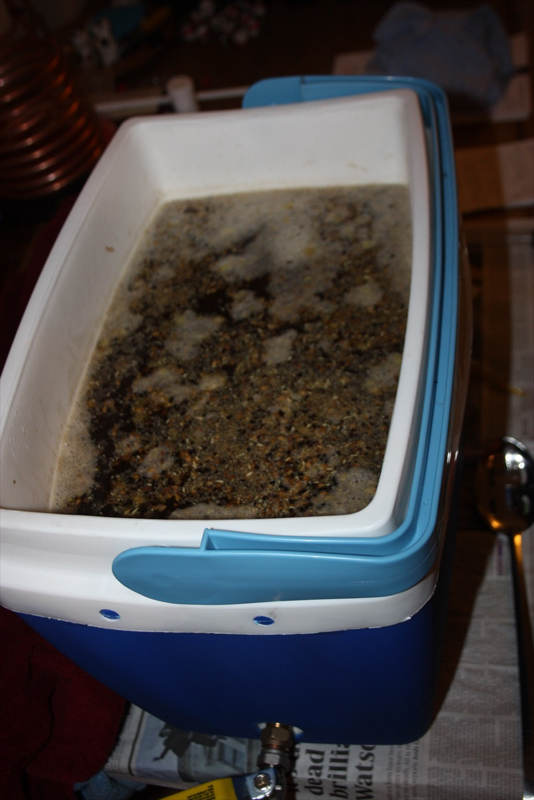
Spent grains in Mash Tun post Mash.
Materials required: 33 litre plastic food grade heat resistant fermenter (approx £12 from any good homebrew supplies store) 2 x new cheap Cordless Kettles (I used Tesco kettles - £6.50 each) 600mm x 15mm copper pipe (left overs from Mash Tun manufacture) 1x 15mm Tap 2 x Right angle connectors (brass)(15mm) 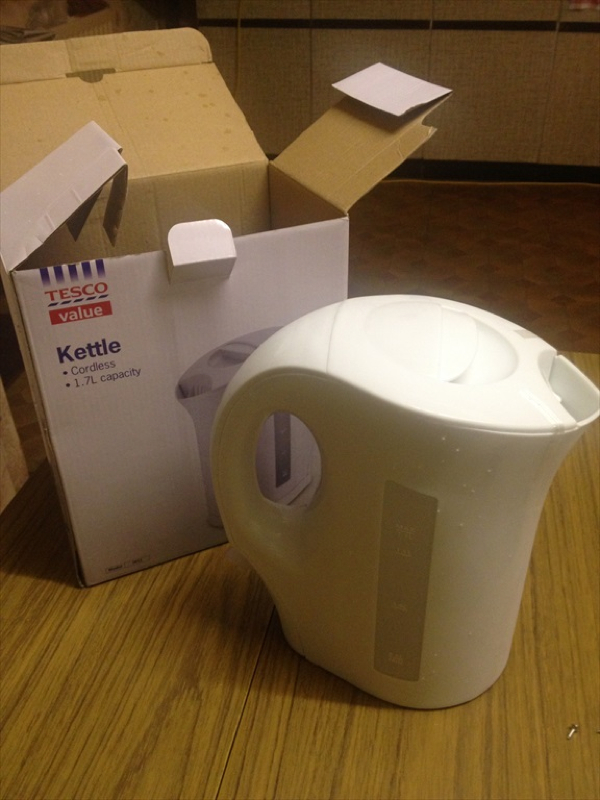
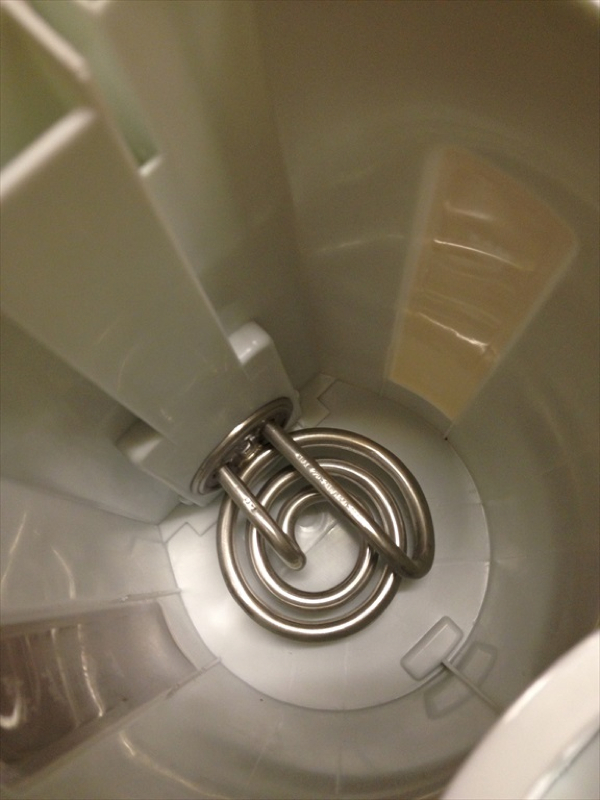
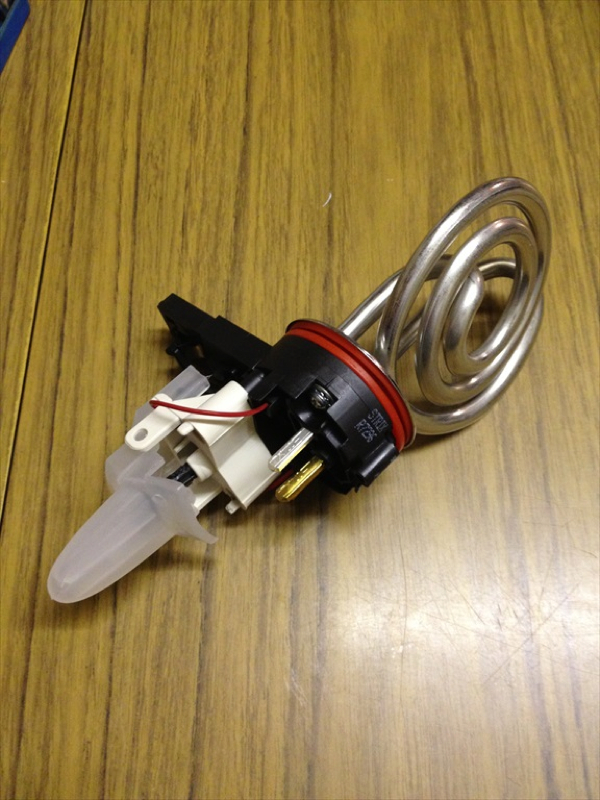
Kettle element required for Boil Kettle
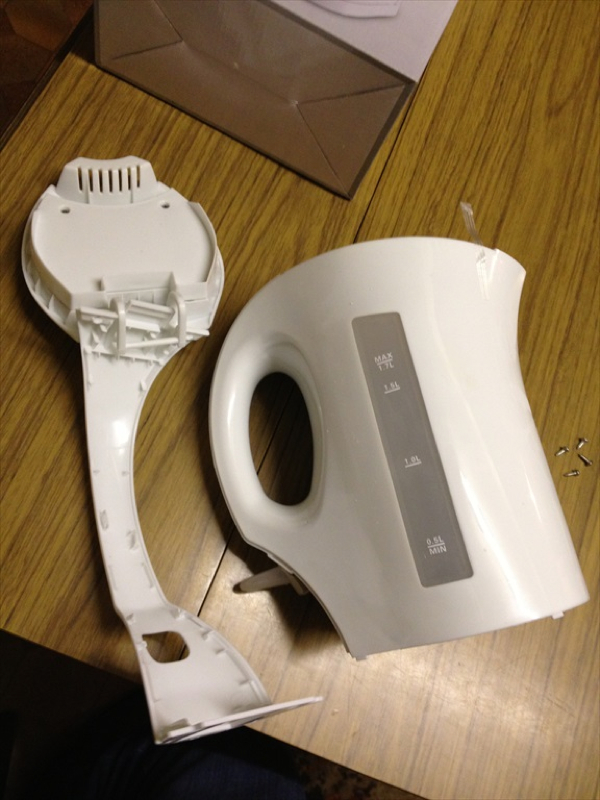
Disassemble cordless kettle to remove element
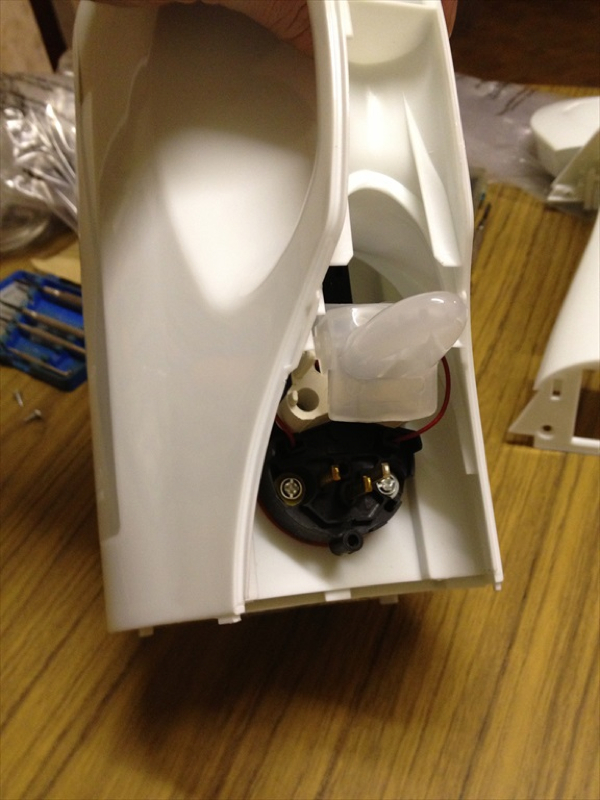
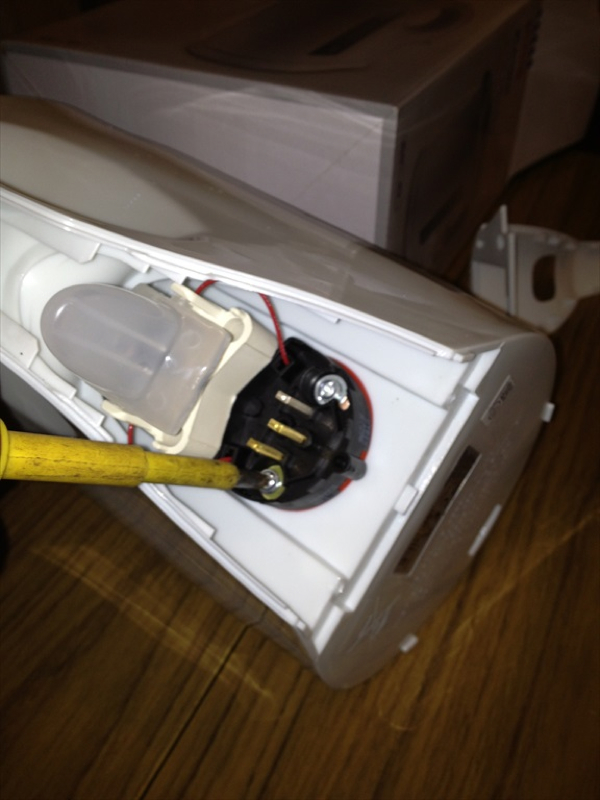
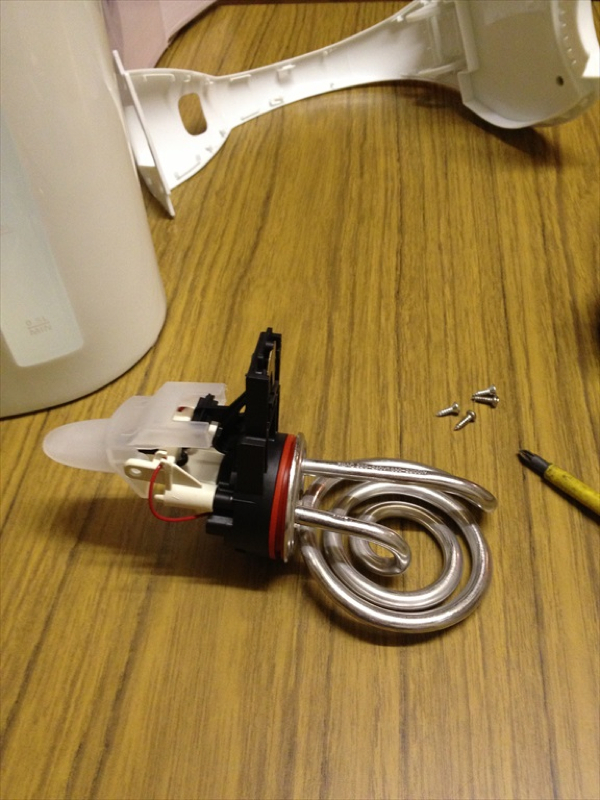
Element (with gasket - red ring between element and power connector)
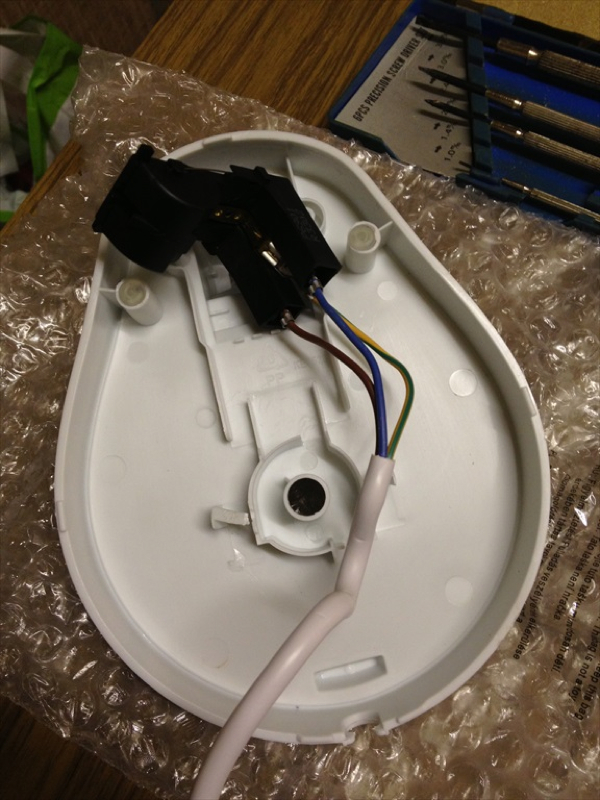
Remove power lead (from base of cordless kettle) and cut existing connector off.

Install one of these high temp rated connectors to each of the 2 x no. Power cables
Next, make hop strainer for outlet from boil kettle. Use approx 250 - 300mm of 15 mm coper pipe and drill 2mm holes in this pipe as shown - three rows - holes approx 10mm apart. Crimp one end of this pipe so there is only one outlet

2 no. 2.2 kw Elements and assembled Hop Strainer ready to be installed in Boil Kettle
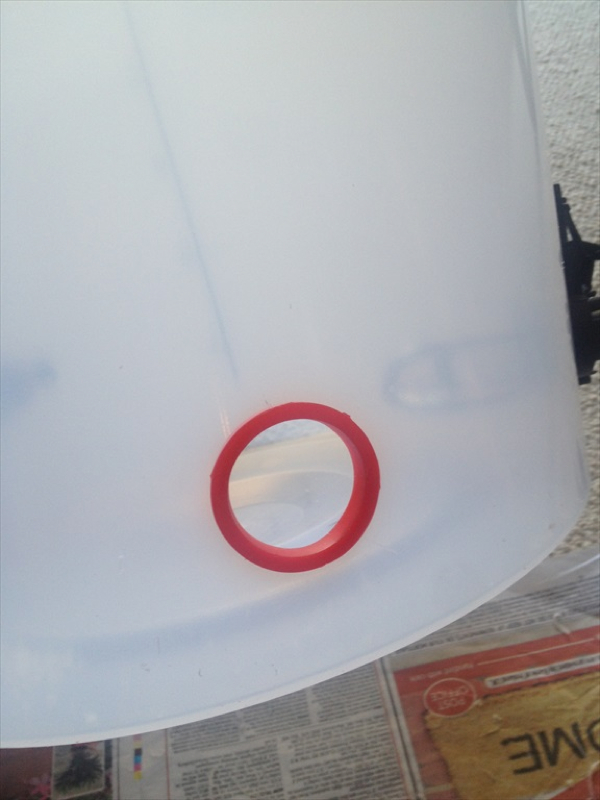
Drill hole for tank connector (for outlet pipe). As per reference to Tank Connector in Mash Tun manufacturing blog.....Be aware that 15 mm copper pipe cannot pass right through this fitting as most people assume (myself included). One end can accommodate 15mm pipe but there is a flange within reducing diameter to 1/2" (12.5mm). This brass Tank Connector has to be reamed out to 15mm - I used 14mm masonry bit and then used some elbow grease and new circular metal file to remove final metal

Install outlet pipe through Tank Connector and tighten all connectors up fully (Tap/Tank Connector/Right angle connectors)
Now install 2 x Elements at opposite side of Boil Kettle from outlet - 38mm hole required for each and install silicone gasket to ensure watertight seal...
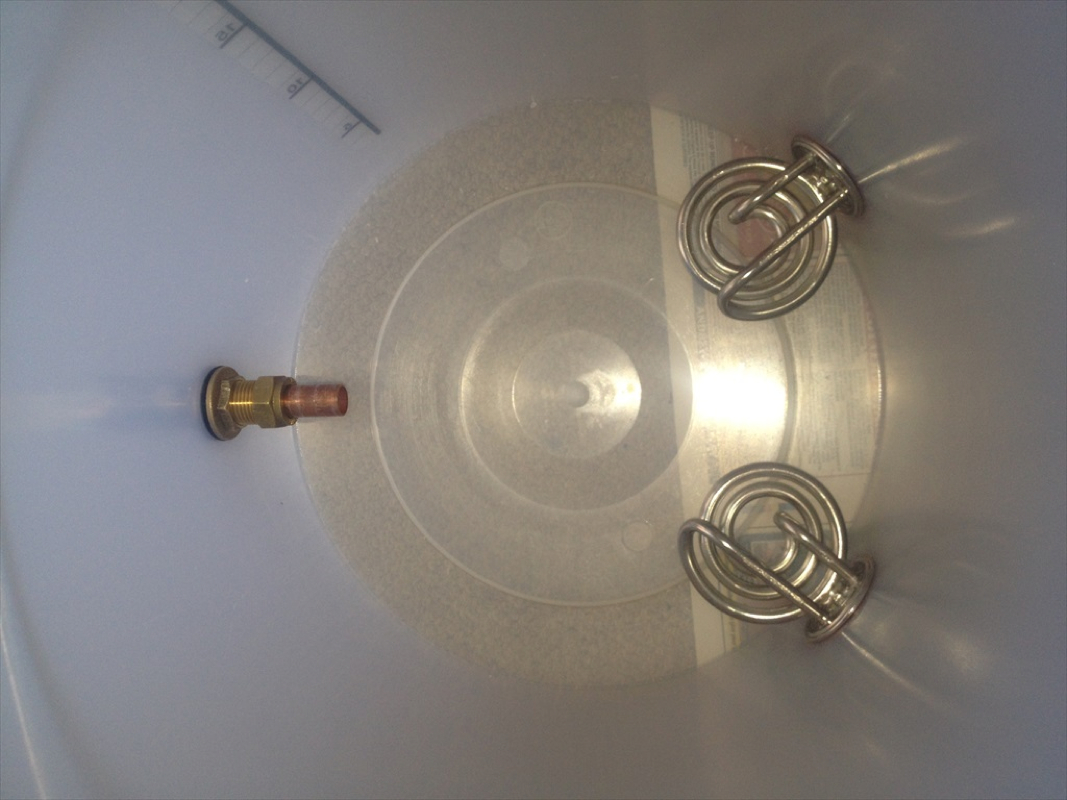
And install 2 x elements. Tighten fixing screws fully to ensure watertight seal.
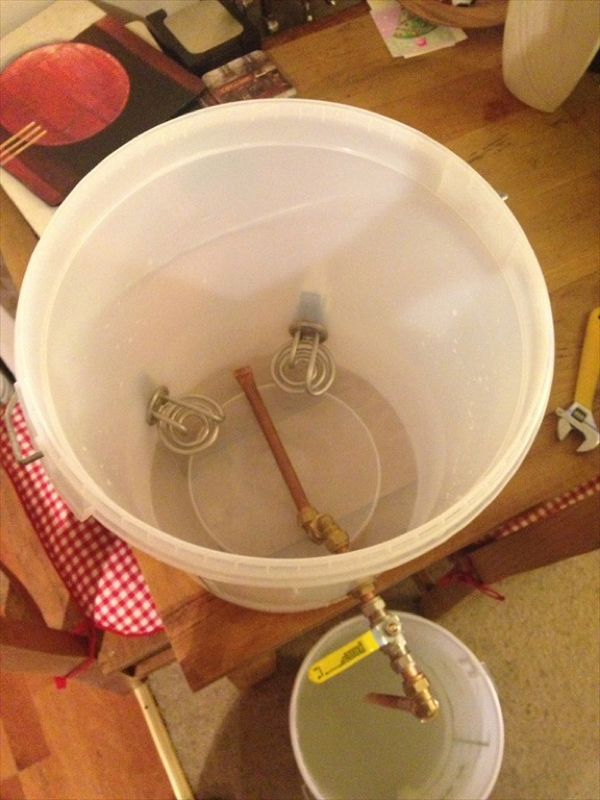
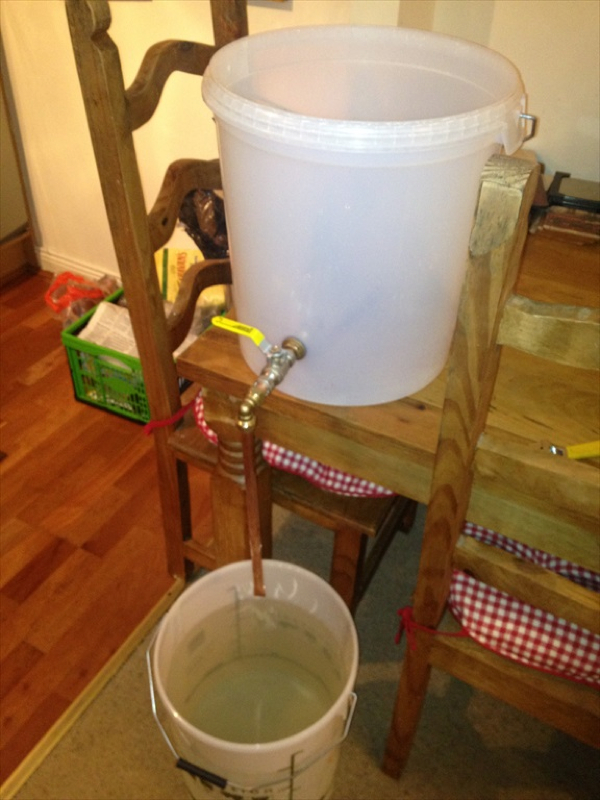
Finished Boil Kettle. As per Mash Tun, it is recommended that the final outlet pipe is reduced from 15mm to 10mm to ensure siphon effect is created to empty Boil Kettle fully.

Final component of Boil Kettle - wort chiller. This is cheaper to buy online than make yourself - £32 on Ebay
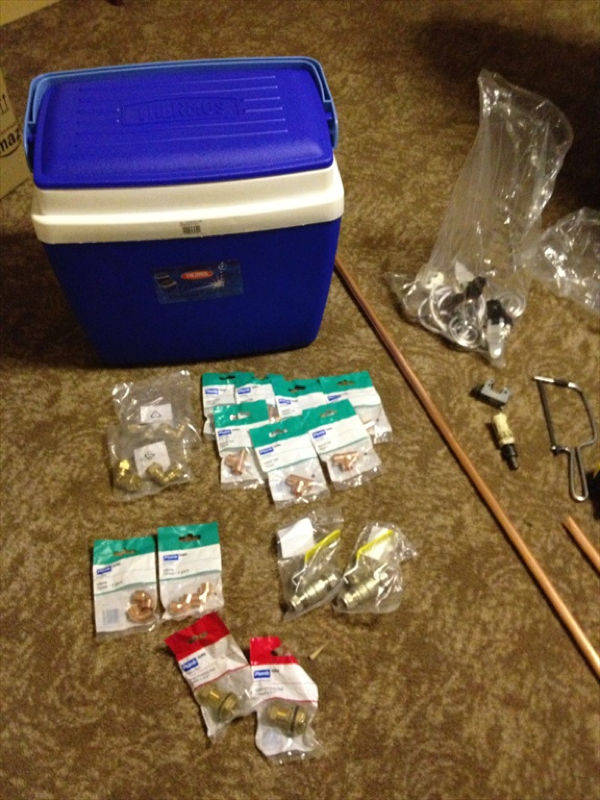
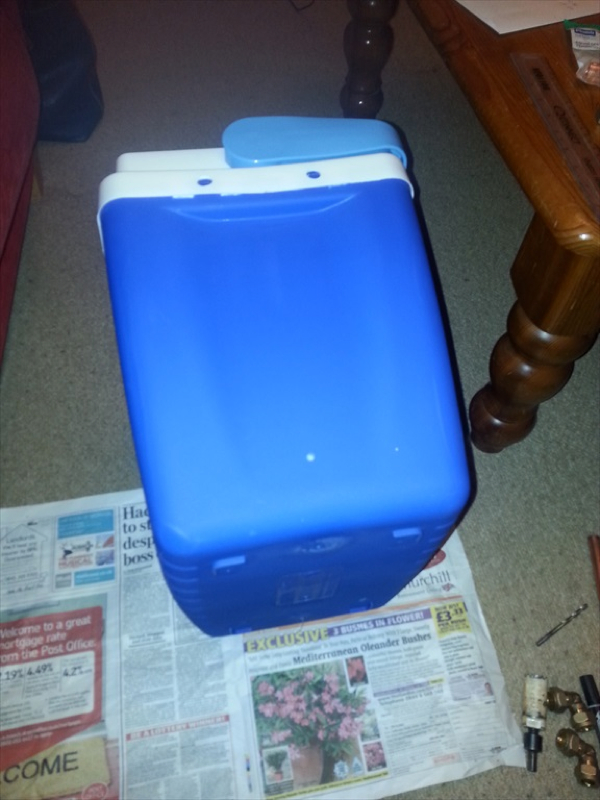
Materials required: 28 litre Thermos Cooler Box (£20 delivered from Amazon) 3 x metres of 15mm copper pipe Tap Tank connector (15mm) Selection of 90* elbows (5 no.) and T pieces (5 no.) 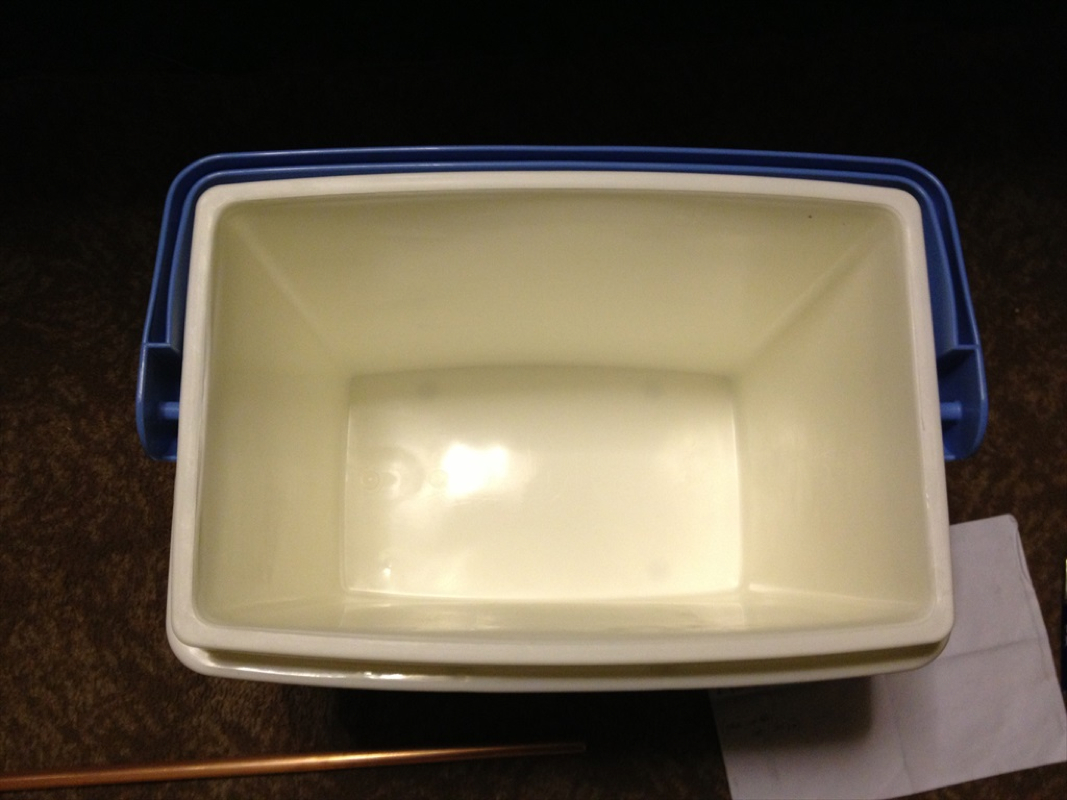
Measure dimensions of base of Cooler Box / Mash Tun. Allow at least 1inch (25mm) free space between proposed copper manifold and sides of Mash Tun 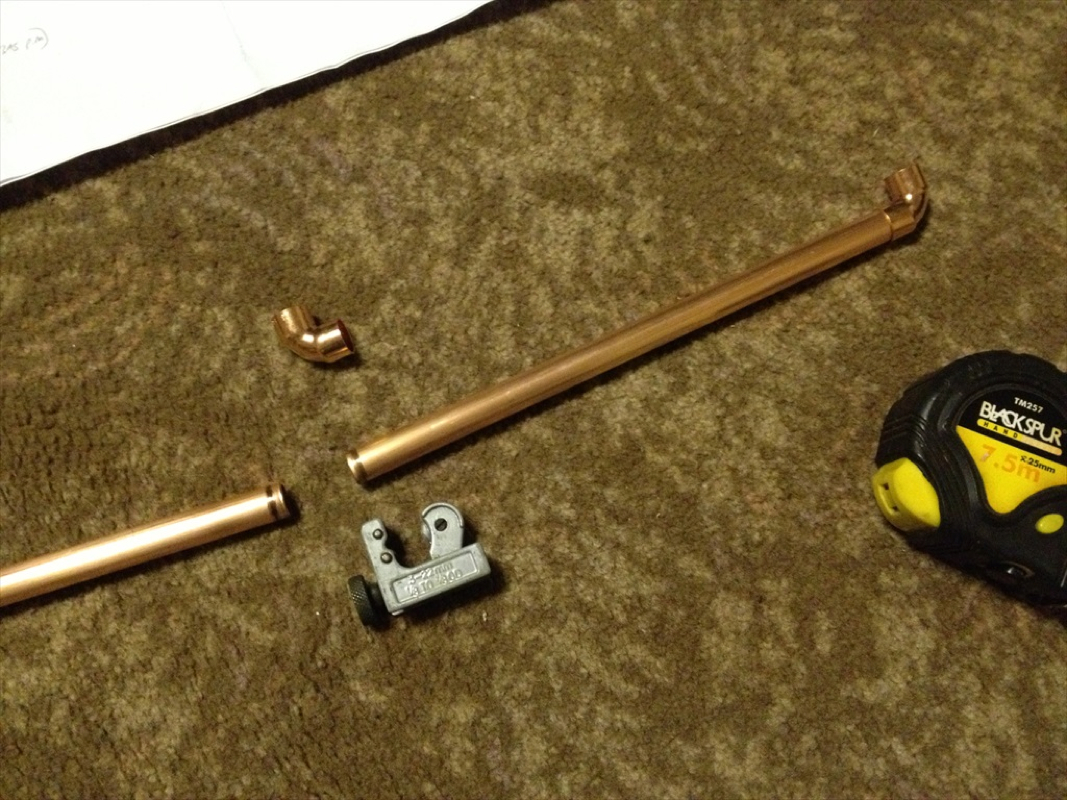
Use pipe cutter to cut copper pipe to desired length to construct manifold
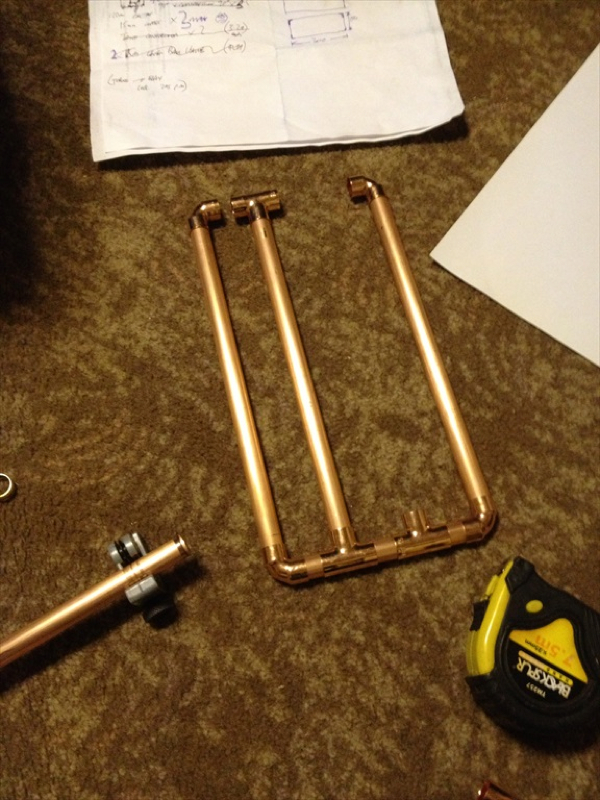
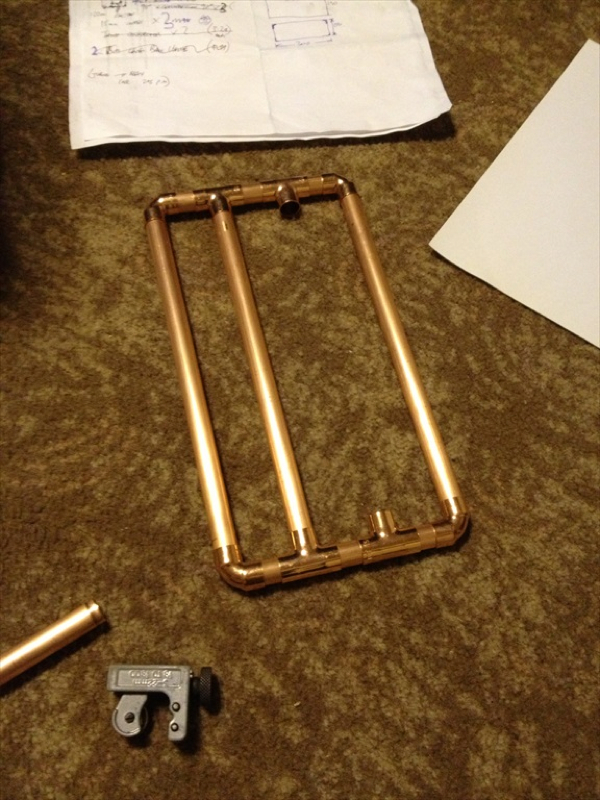
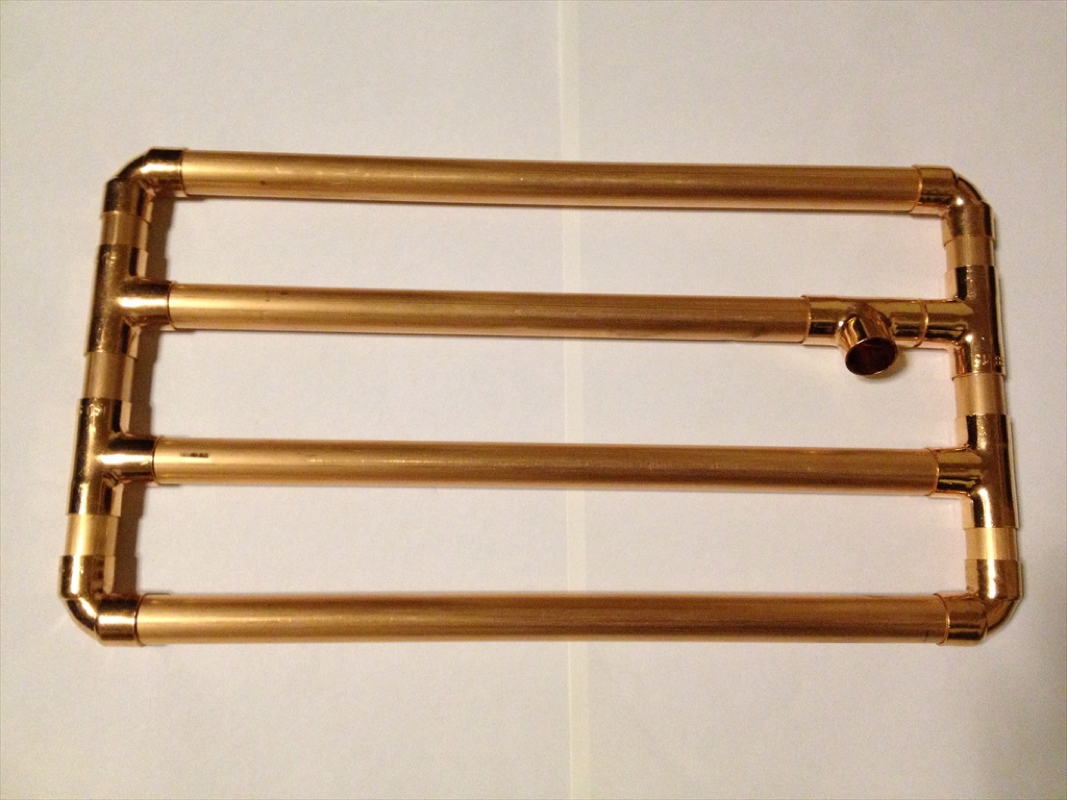
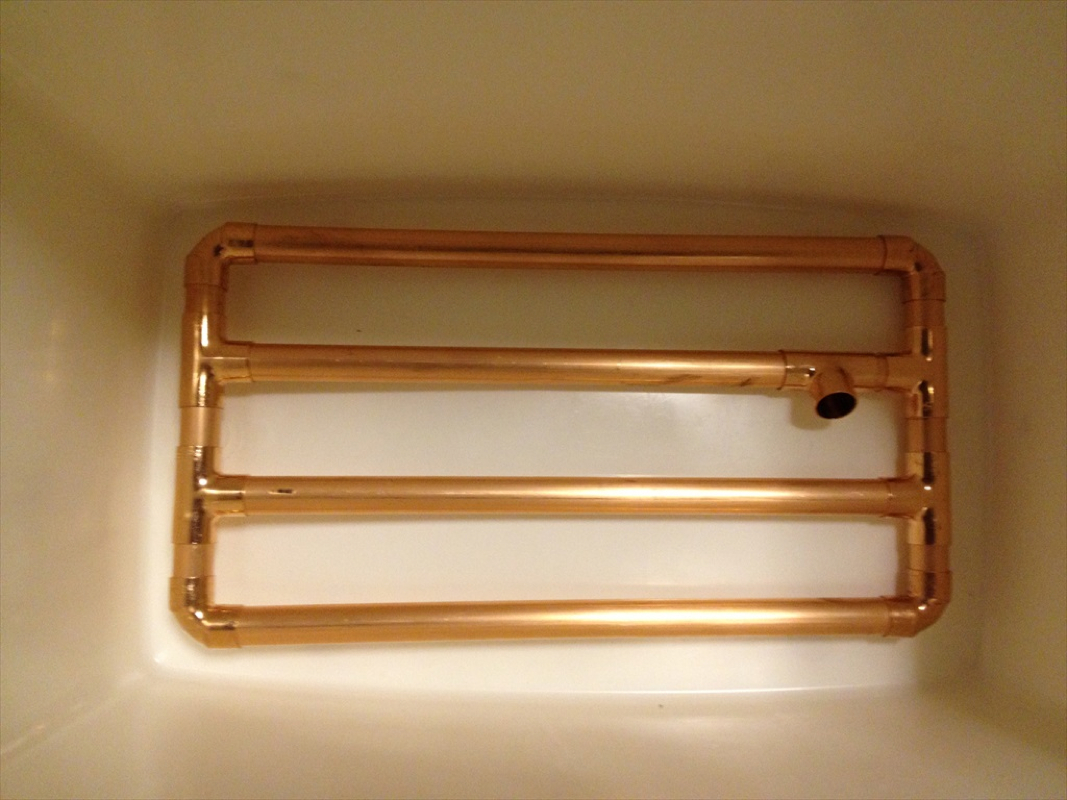
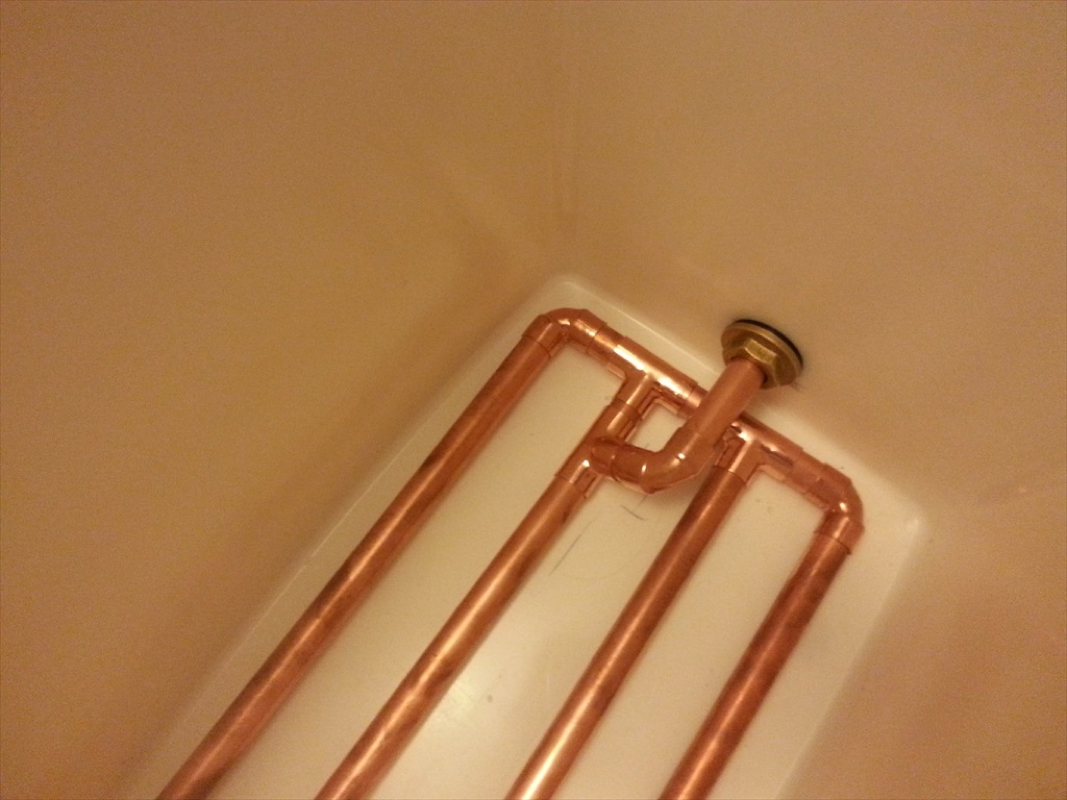
Finished manifold design.... Still have to cut "slots" on lower facing side of pipe work to allow "wort" to be siphoned off free mashing malt.
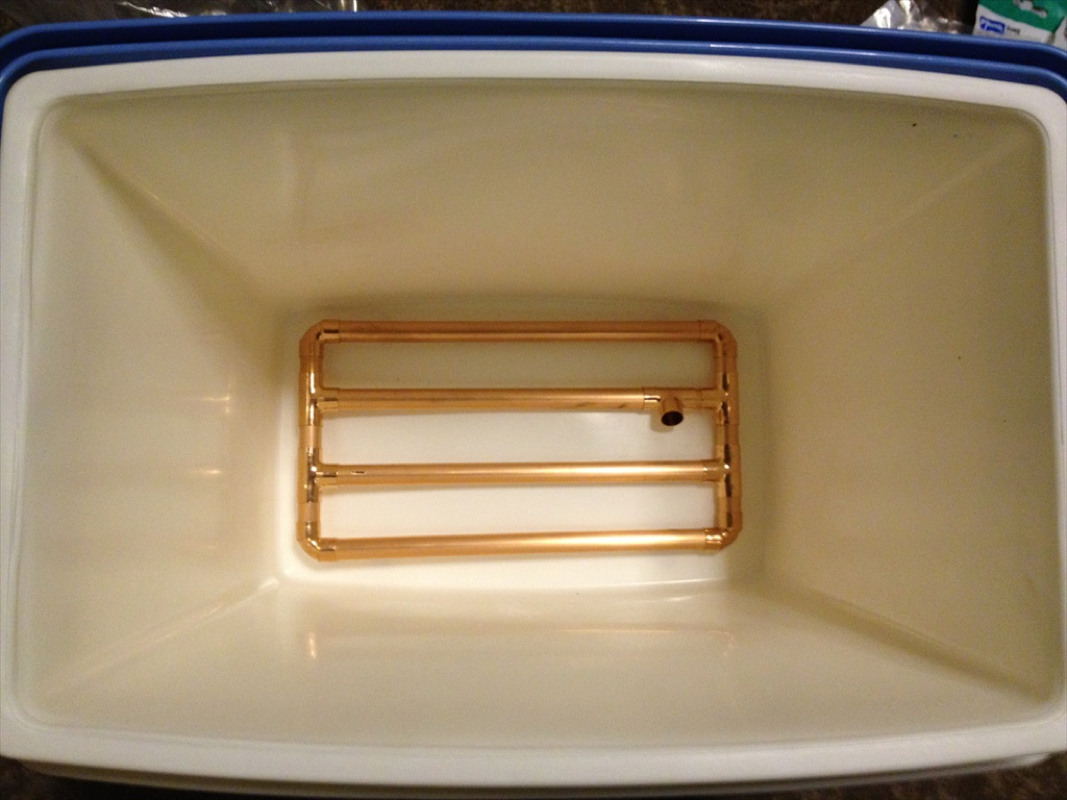
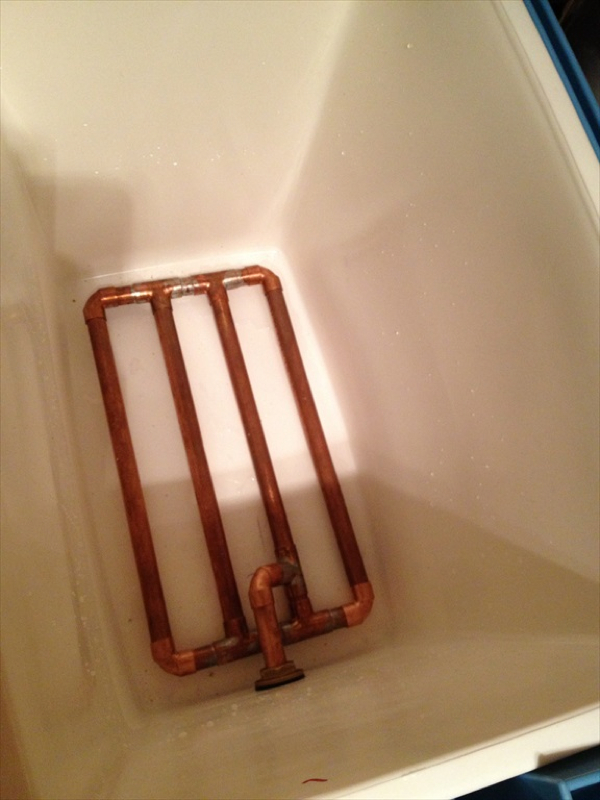
Check that manifold fits Mash Tun
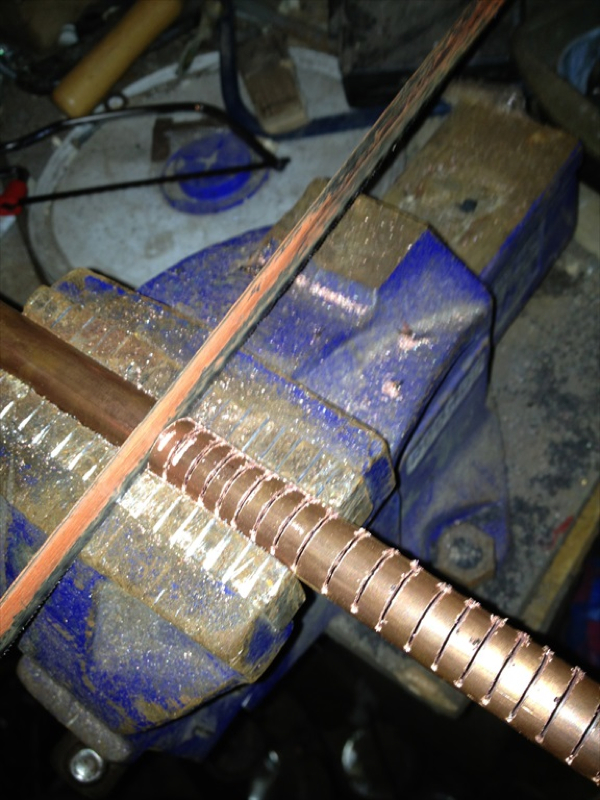
Take manifold apart and cut slots at 5mm intervals along each manifold member
Take Mash Tun and measure where outlet is to be located (place completed manifold in Mash Tun and mark outlet then drill small hole right through end of mash tun)
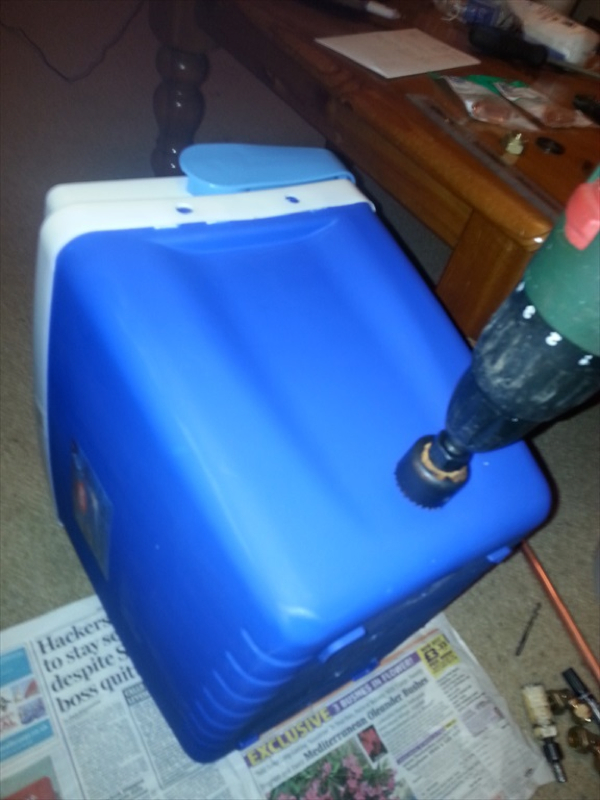
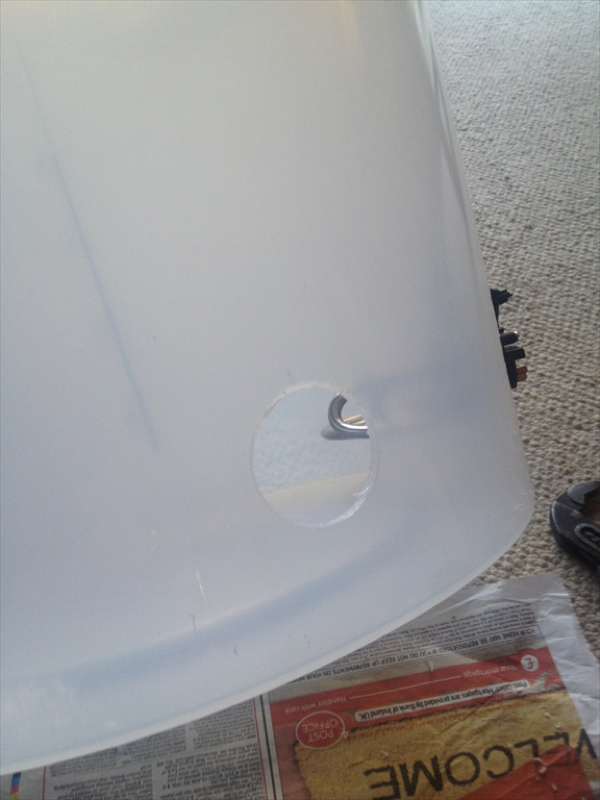
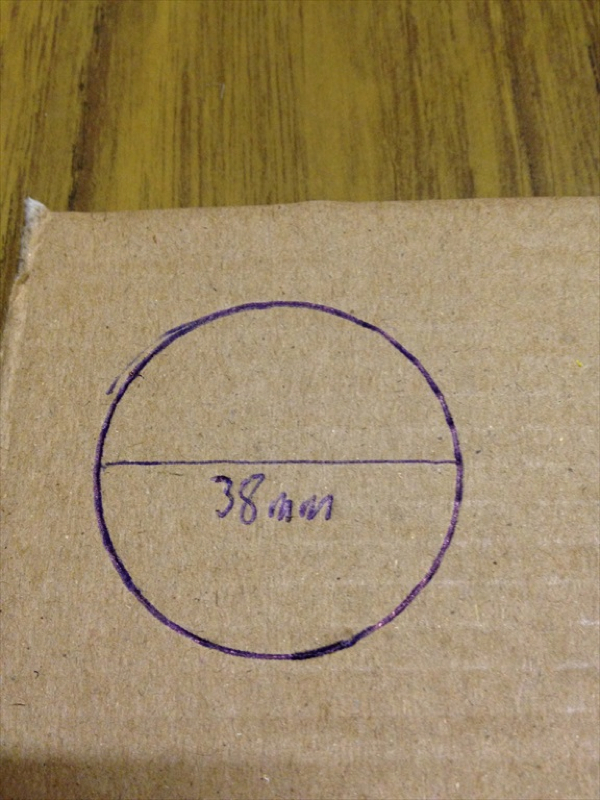
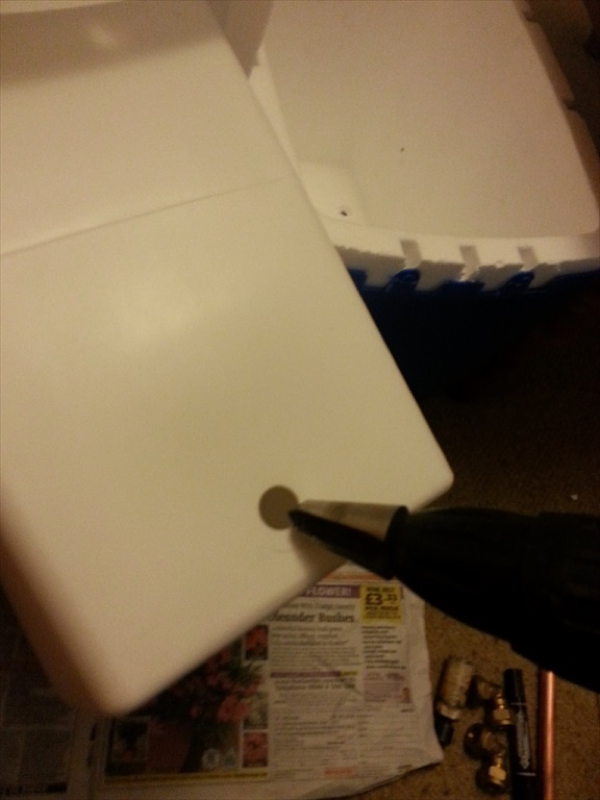
Use 38mm cutter to create large entry point to install brass Tank Connector to allow 15mm outlet pipe to be installed
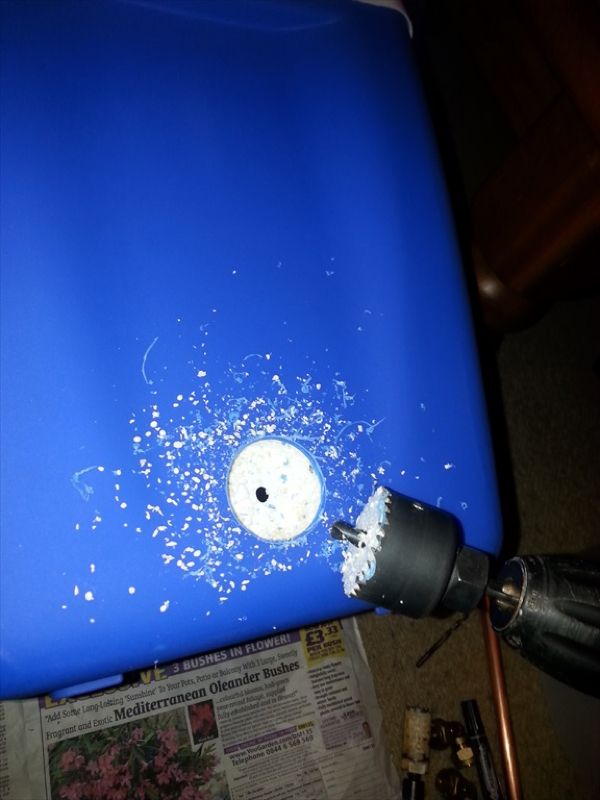
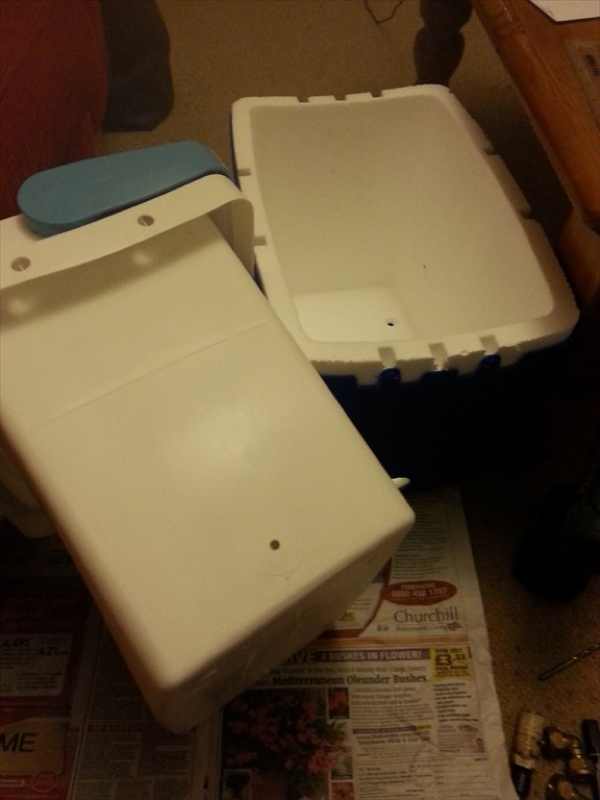
Dismantle Mash Tun to allow inner facing wall to be drilled with 20mm hole to accommodate brass Tank Connector
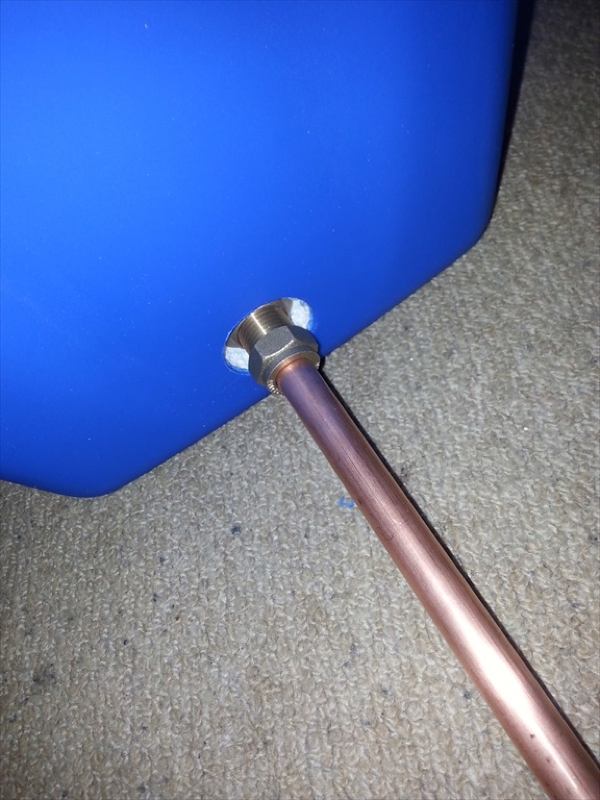
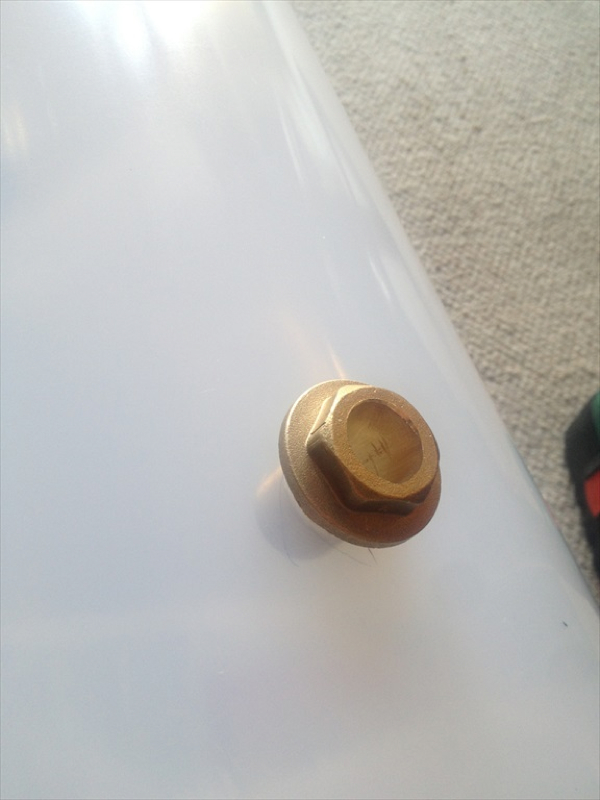
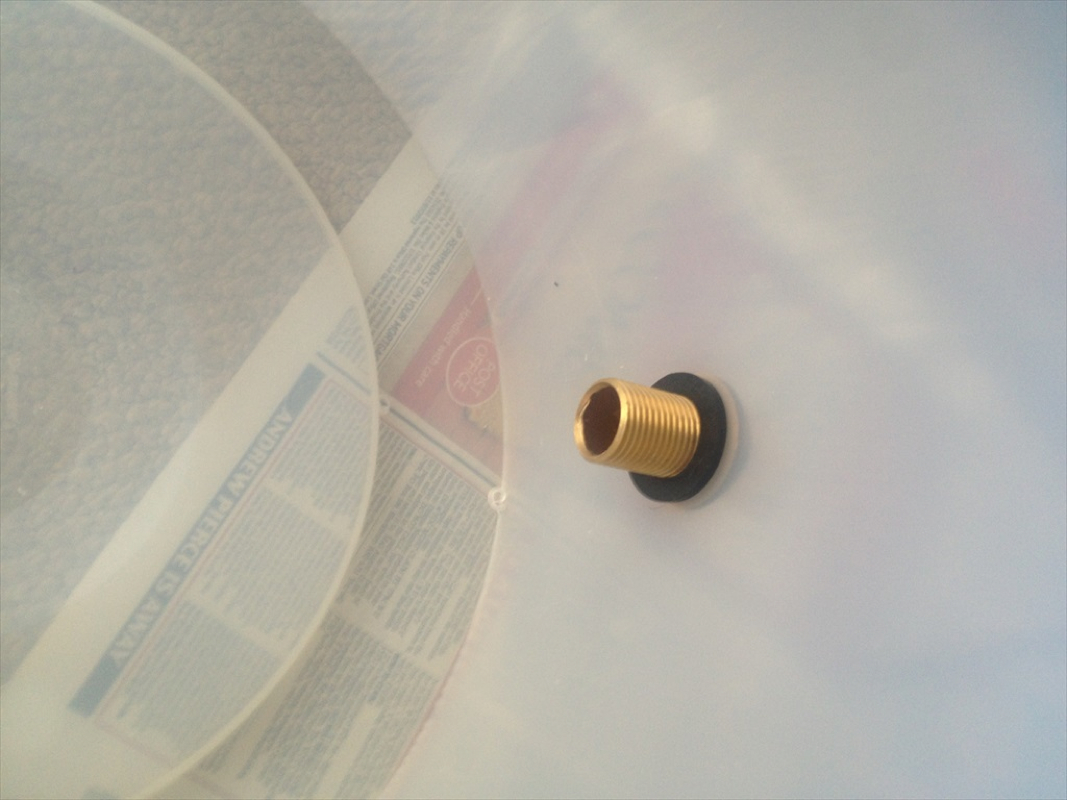
Install brass Tank Connector as per photo. Be aware that 15 mm copper pipe cannot pass right through this fitting as most people assume (myself included). One end can accommodate 15mm pipe but there is a flange within reducing diameter to 1/2" (12.5mm). This brass Tank Connector has to be reamed out to 15mm - I used 14mm masonry bit and then used some elbow grease and new circular metal file to remove final metal
Connect 15mm outlet pipe to 90* elbow on manifold.
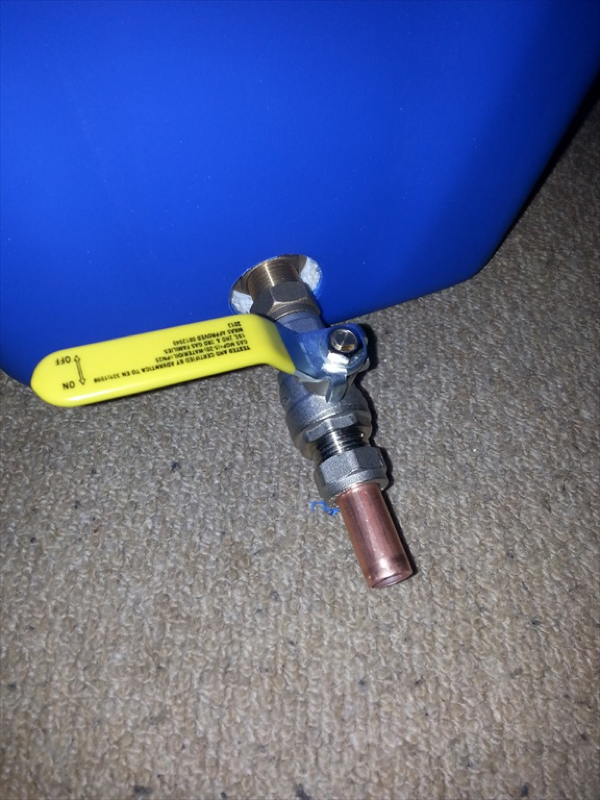
Install tap fitting to outlet pipe and tighten all nuts etc fully (including Tank Connector) to ensure water right seal (you don't want to waste or lose any of your precious wort when mashing!!)
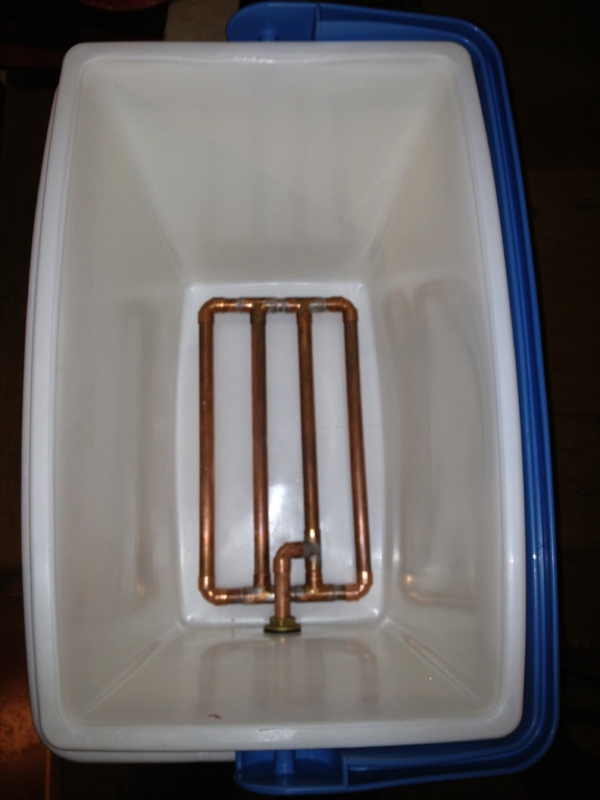
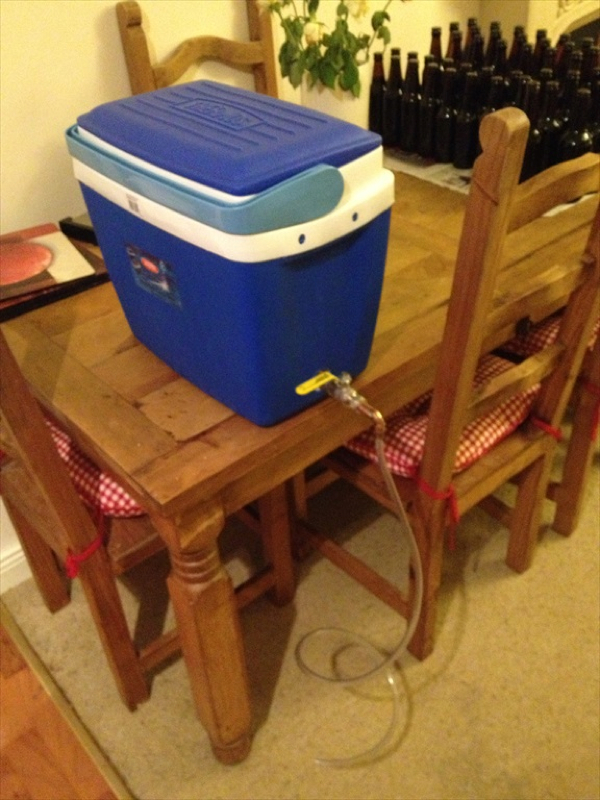
Completed Mash Tun with 10mm silicone pipe fitted to outlet via 15mm - 10mm reducer. This will ensure that siphon effect will happen and all wort will be siphoned out of Mash Tun
|
 RSS Feed